How to edit a default template in ProFile
by Intuit• Updated 7 months ago
This article walks you through customizing your letters and invoices. Sections include:
What to know about editing templates
- Templates should always be RTF files (Rich Text Document) format created by WordPad, the default Windows word processor
- Content should always be copied and pasted from Notepad, and never directly from an email or a word processor application
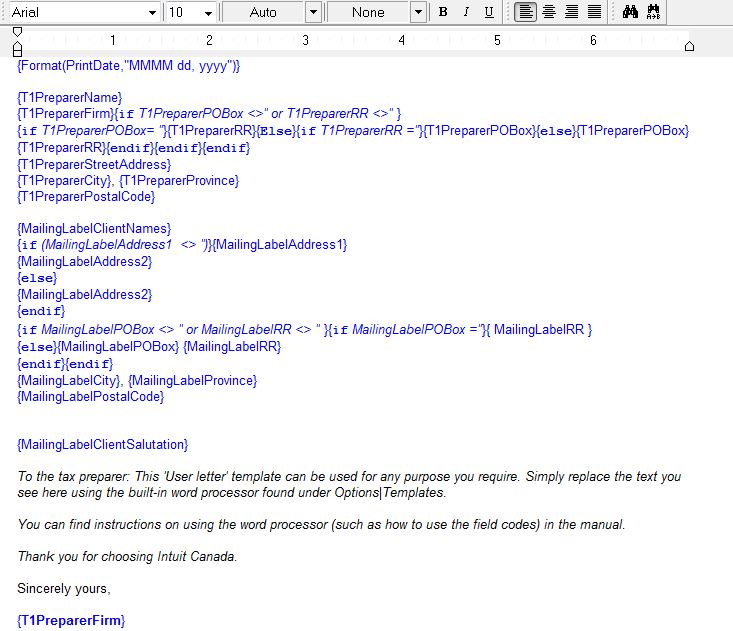
- Coding locations shouldn't be shifted or broken (blue text). However, any text in black can be altered as desired
- Logos, signature graphics can be added to templates; however, they shouldn't exceed 400 kb. This is an estimate. Larger files can cause ProFile to become unstable
- All images must be .bmp or .wmf formats
- Headers and footers aren't supported by ProFile
If working in a local environment
- Select the Templates... option under the Options dropdown menu.
- The Template Editor window will display.
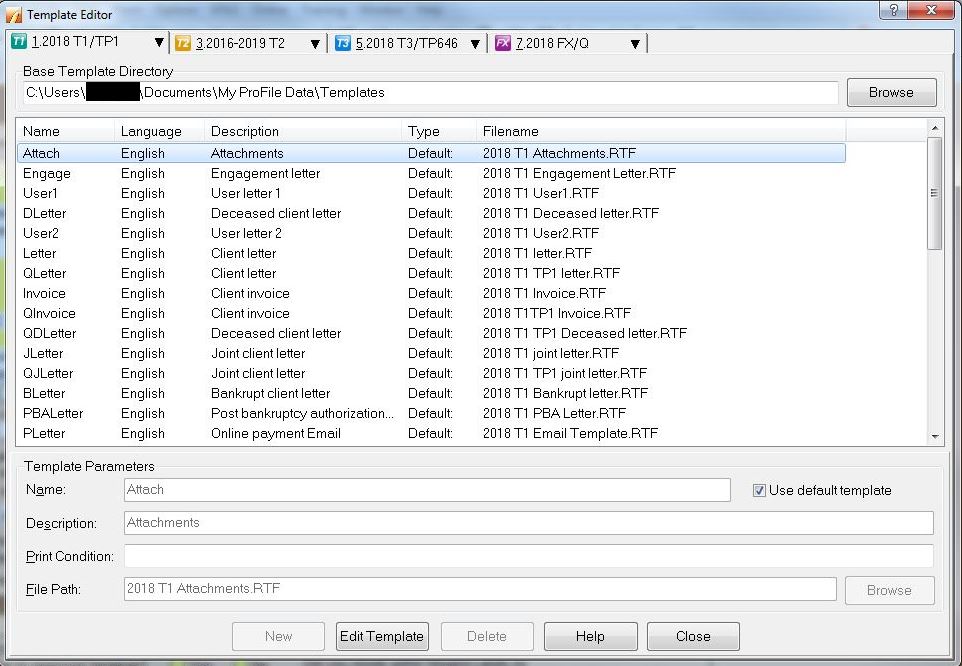
- Select a year and module from the tab menu (for example, 2018 T1/TP1).
- Select the individual template to modify.
- Select Edit Template.
- Edit the template as required.
- Select Save. The Save As window will display.
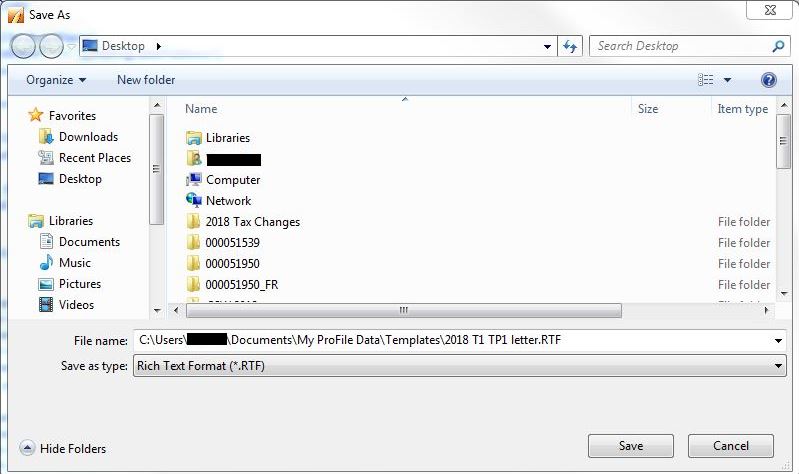
- Navigate to the location to save the revised template and save using an appropriate file name.
- Select Save to save the revised template.
Note: Select Use default template to revert to the default template.
If working in a network environment
If working in a network environment:
- Use Browse in the Base Template Directory to select a location to store customize templates.
- Use Browse in the File Path field to select customized templates.
Note: The Use default template option must be unchecked.
Insert a graphic in a template
- Open the template.
- Select Insert, and then Graphic.
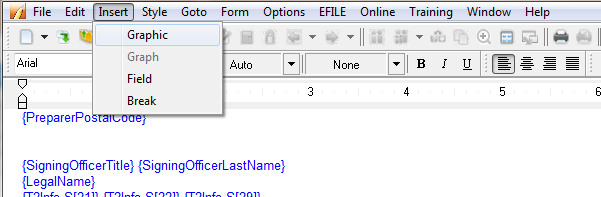
- Select the location and individual graphic to insert.
Note: All inserted images must be .bmp or .wmf formats.
- Select Open. The image inserts in the template.
- Select Save.
Personalize a template
Note: If any changes are made to the coding via Edit Template, those changes won't appear on a modified, personalized template. Make sure that Personalized isn't selected if no changes occur after editing a template.
If you want to add or change content of a template for one client only, personalization allows you to change the content on the letter without modifying any of the coding. The changes affect the template for the current year and client file only.
To personalize, go to the form with the template, such as the client letter. Next, right-click and then select Personalize.
You can now make changes directly on the letter or form.

Carrying forward templates
You can use last year’s template, but it may cause issues. Some fields change from year to year—tax lines or credits can be removed by the CRA. If your template has a field that isn’t valid, it can cause unexpected results or show red text on your form. Carrying a template forward might feel simpler than updating it for the current year, but that’s not always the case.
When carrying forward templates, make sure that no field codes appear in red when editing the template. This means a field code is invalid. Check the Advanced section for more information.
To carry forward:
- Go to Options, and then select Templates...
- Uncheck Use default template.
- Select Browse, and then go to the path where your previous year template is. Next, select Open.
Advanced
This section deals with handling code in the template editor. Some ProFile customers may want to consult their tech team before using the template editor themselves.
Field codes
Note: These code blocks are shown in blue when they are valid, and in red when they are not working.
Right-click any field from any form, select Copy field code. You can use this to create a function within the template editor.
Functions
Functions can be used to display text conditionally. In the following example, the letter would read Happy birthday, Ron! if the birthdate in the Info form is the same as today's date, and otherwise will read Hi Ron.
Functions are composed of four main parts. The if statement, the else statements, and their respective texts.
- The if statement is contained within braces (these are the { and }. Yes, this is what those "little seahorse brackets" are called!) It compares values and returns a true or false response.
- Text below the if statement appears if the condition is true.
- The else statement is also in braces.
- Text below the else statement, which is displayed if the condition is false.
Operators
Operators are the symbols used to compare values in an if statement.
- < > for "is not equal to"
- > for "is greater than"
- > = for "is greater than or equal to"
- < = for "is lesser than or equal to"
- < for "is lesser than"
- = for "is equal to"
What if I want to start over?
You can start from scratch by going to Options, then Templates... Select the template and recheck Use default template and then select Close. Reopen the form in a return and it'll be the default version. You can edit from there if necessary.