Submit and cancel a Business Consent (T1 and T2)
by Intuit• Updated 2 months ago
Note: The following instructions apply to customers using ProFile release 2019.3.0 and later.
| ‣ Submit an Authorize a Representative (T1) |
| ‣ Cancel an Authorize a Representative (T1) |
| ‣ Submit a Business Consent (T2) |
| ‣ Cancel a Business Consent (T2) |
Submit an Authorize a Representative (T1)
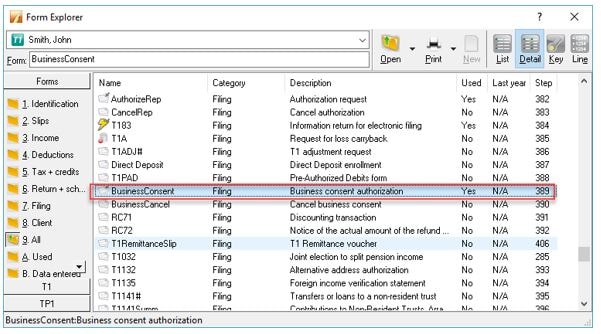
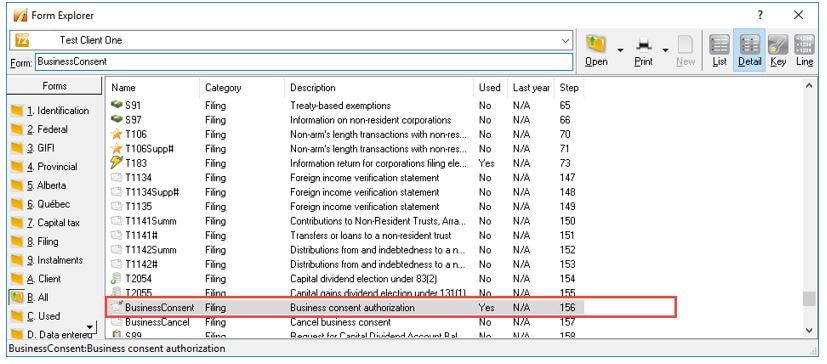
- Open the Form Explorer in ProFile.
- Search in the Form: field for the term BusinessConsent, and double-click the BusinessConsent option presented in the results list.
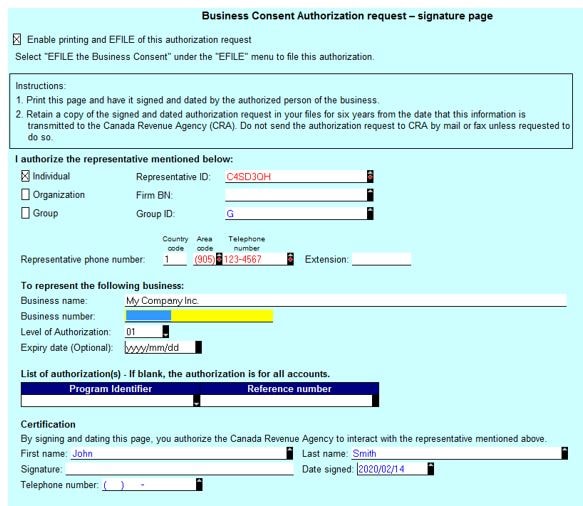
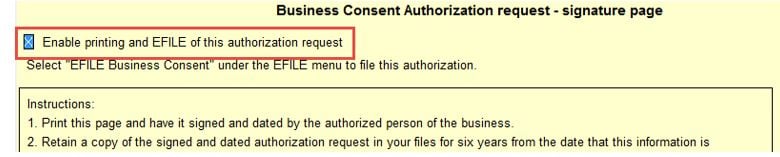
The Business Consent Authorization request – signature page will open.
- Select the Enable printing and EFILE of this authorization request checkbox.
- Fill out the business information.
Representative information will populates from information already entered on the Preparer tab in the Options Environment menu.
- Obtain the taxpayer signature on the form. Retain the signed form for your records.
- Select the EFILE Business Consent option from the EFILE dropdown menu.
The EFILE confirmation window displays.
- Select OK to proceed with the EFILE of the consent.
Cancel an Authorize a Representative (T1)
- Open the Form Explorer in ProFile.
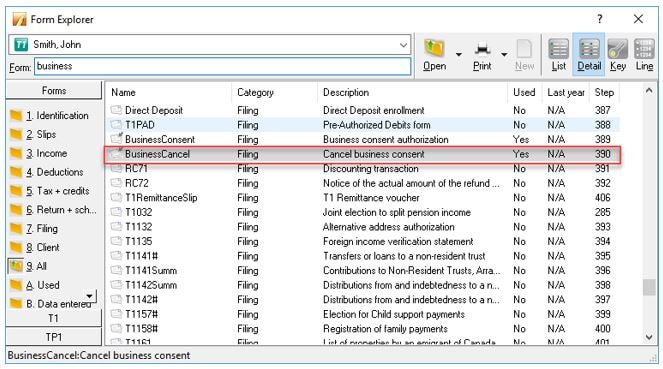
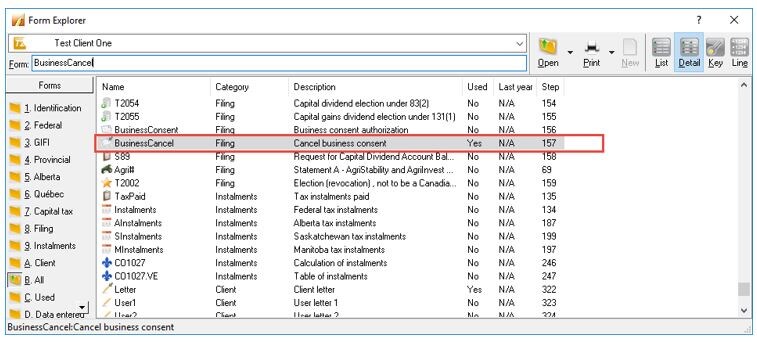
- Search in the Form: field for the term business, and double-click the BusinessCancel option presented in the results list.
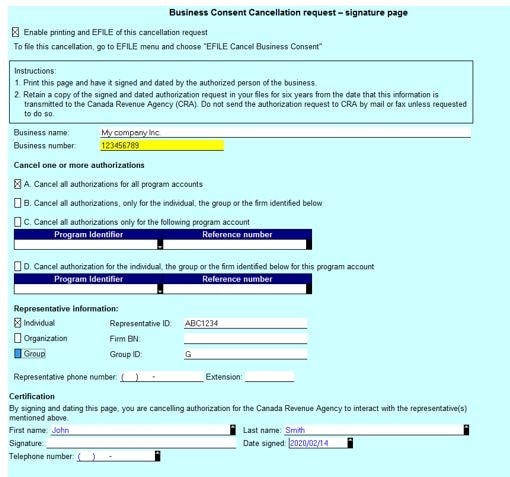
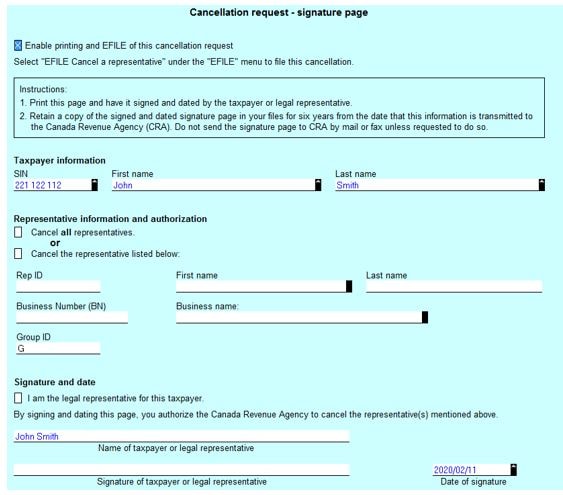
The Business Consent Cancellation request – signature page opens.
- Select the Enable printing and EFILE of this cancellation request checkbox.
- Complete the signature page.
- Obtain the taxpayer signature on the form. Retain the signed form for your records.
- Select the EFILE Cancel Business Consent option from the EFILE dropdown menu.
The EFILE confirmation window will display.
- Select the OK to continue with the EFILE of the cancellation.
Submit a Business Consent (T2)
- Open the Form Explorer in ProFile.
- Search in the Form: field for the term BusinessConsent, and double-click the BusinessConsent option presented in the results list.
The Business Consent Authorization request – signature page opens.
- Select the Enable printing and EFILE of this authorization request checkbox.
- Fill out the business information.
Representative information populates from information already entered on the Preparer tab in the Options Environment menu.

- Obtain the taxpayer signature on the form; retain the signed form for your records
- Select the EFILE Business Consent option from the EFILE dropdown menu.
The EFILE confirmation window will display.
- Select OK to proceed with the EFILE of the consent.
Cancel a Business Consent (T2)
- Open the Form Explorer in ProFile.
- Search in the Form: field for the term business, and double-click the BusinessCancel option presented in the results list.
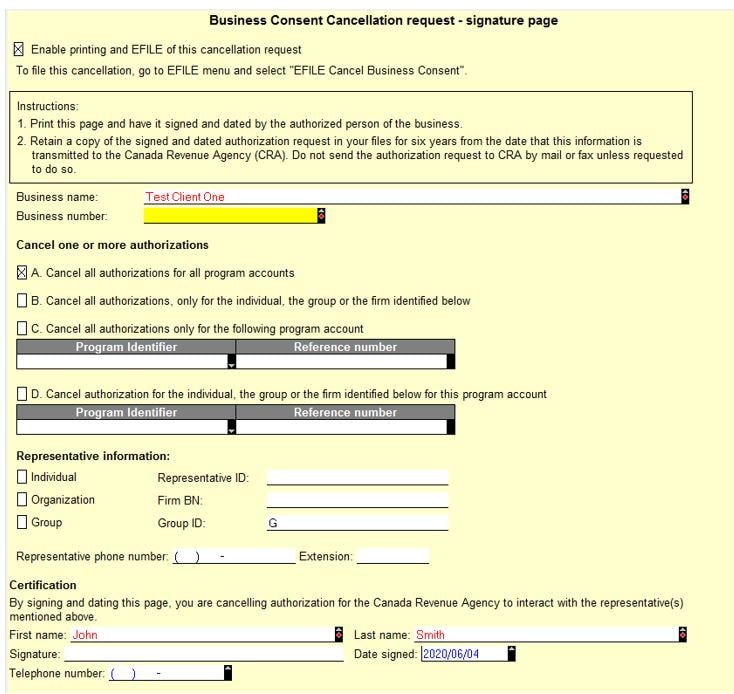
The Business Consent Cancellation request – signature page opens.
- Select the Enable printing and EFILE of this cancellation request checkbox.
- Complete the signature page.
- Obtain the taxpayer signature on the form; retain the signed form for your records.
- Select the EFILE Cancel Business Consent option from the EFILE dropdown menu.
The EFILE confirmation window will display.
- Select OK to proceed with the EFILE of the cancellation.