1. Click the Windows icon in the bottom-left corner of the screen.
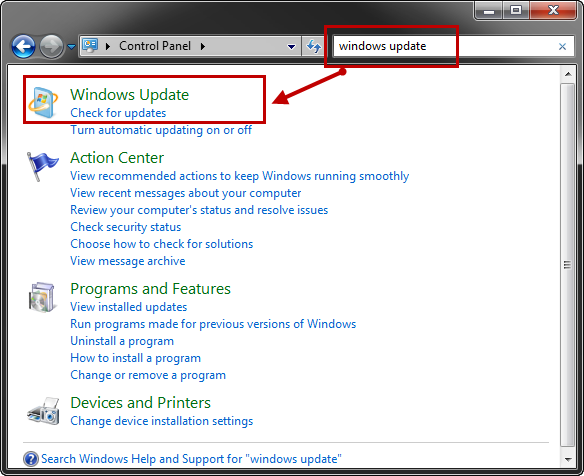
2. Select Control Panel. The Windows Control Panel displays.
3. Select the Uninstall a program option from the Programs section. A list of programs installed on the computer displays.
4. Scroll down the list and identify any instances of Microsoft Visual C++ 2012 Redistributable and Microsoft Visual C++ 2013 Redistributable.
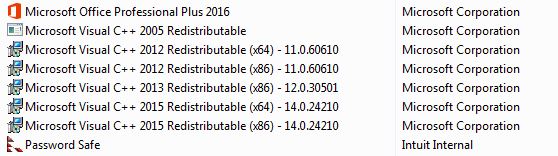
5. Right-click on the first instance of Microsoft Visual C++ 2012 Redistributable and Microsoft Visual C++ 2013 Redistributable.
6. Select Change from the menu.
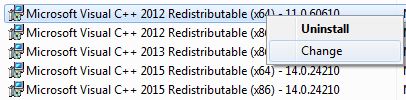
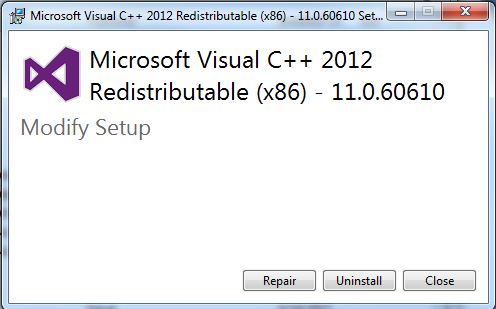
7. Select Repair from the Change window.
8. Repeat the repair process for each instance of Microsoft Visual C++ 2012 Redistributable and Microsoft Visual C++ 2013 Redistributable.
9. Reboot the computer when all instances have been repaired.
Note: If ProFile requests the installation of another Microsoft Visual C++ component, install and reboot the computer before launching ProFile.
Run ProFile again. If the issue persists, move to the next step.