Export ProFile data into Excel with Client Explorer
by Intuit• Updated 8 months ago
The export feature allows preparers to select, export, and work with ProFile customer data in another program. In this example, ProFile customer details are exported into a Microsoft Excel file to better organize and manage customer data.
Here’s how to export using the Client Explorer database:
Export to Microsoft Excel using the Client Explorer database
Note: You can only export returns of one type (for example, a 2022 T1) when you do a filtering and exporting task. Exporting multiple types of returns in one effort isn't currently possible.
Filter the returns
- Open ProFile.
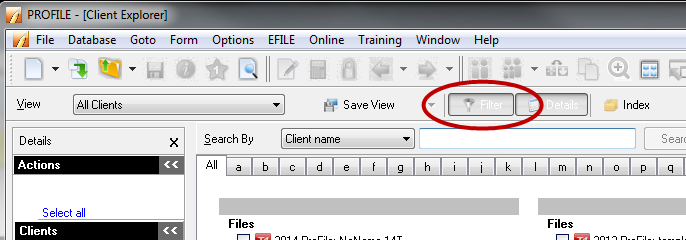
- Select Client Explorer from the Goto dropdown menu. The Client Explorer will display.
- Select Filter. The Filter pane displays near the bottom of the screen.
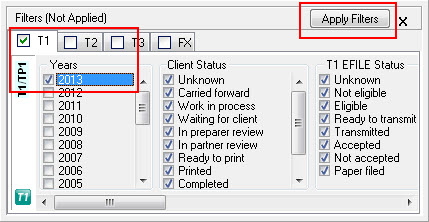
- Select the required module (for example,T1) from the tab menu. Unselect any other modules.
- Select the tax year, Client Status, and other applicable values to filter for results.
Tip: To select a single tax year, right-click a tab (like the Years tab in the T1 module) and select Clear All to clear all tax years.
- Select Apply Filters. The filtered results will display.
Select fields to export to Microsoft Excel
- Choose Select All from the Database dropdown menu in the top toolbar. The filtered returns are all selected.
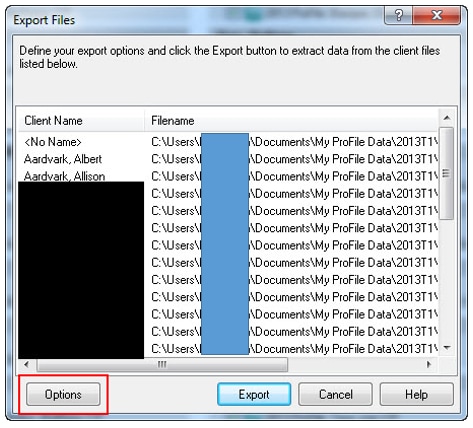
- Select Export... from the Database dropdown menu in the top toolbar. The Export Files window will display.
- Select Options. The Export Options window will display.
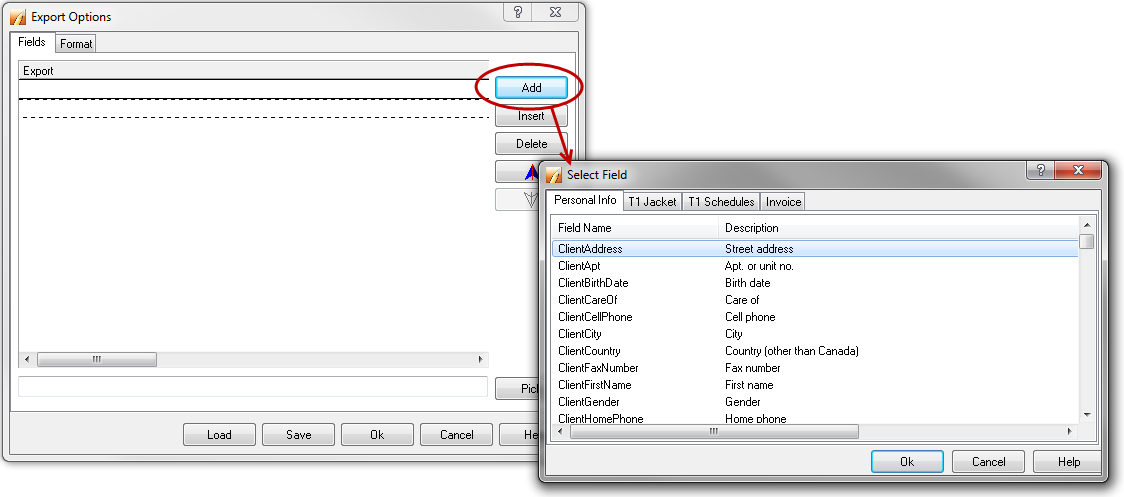
- Select Add. The Select Field window will display.
Multiple types of fields can be selected and added to the export list, including:
- Personal Info
- T1 Jacket
- T1 Schedules
- Invoices
Add a field to the export list
Note: Only one field can be selected and added to the export list at a time.
- Navigate through the tabs and field names and locate the field to export.
- Select the field.
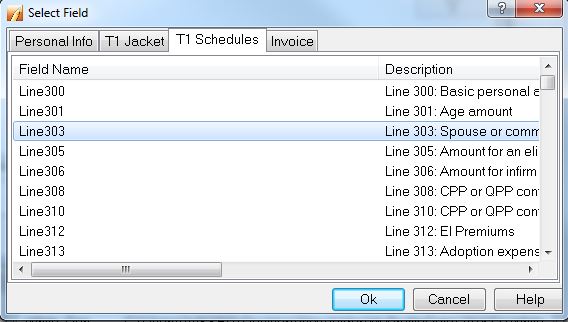
- Select OK, and we'll add the field to the list of what to export to Microsoft Excel.
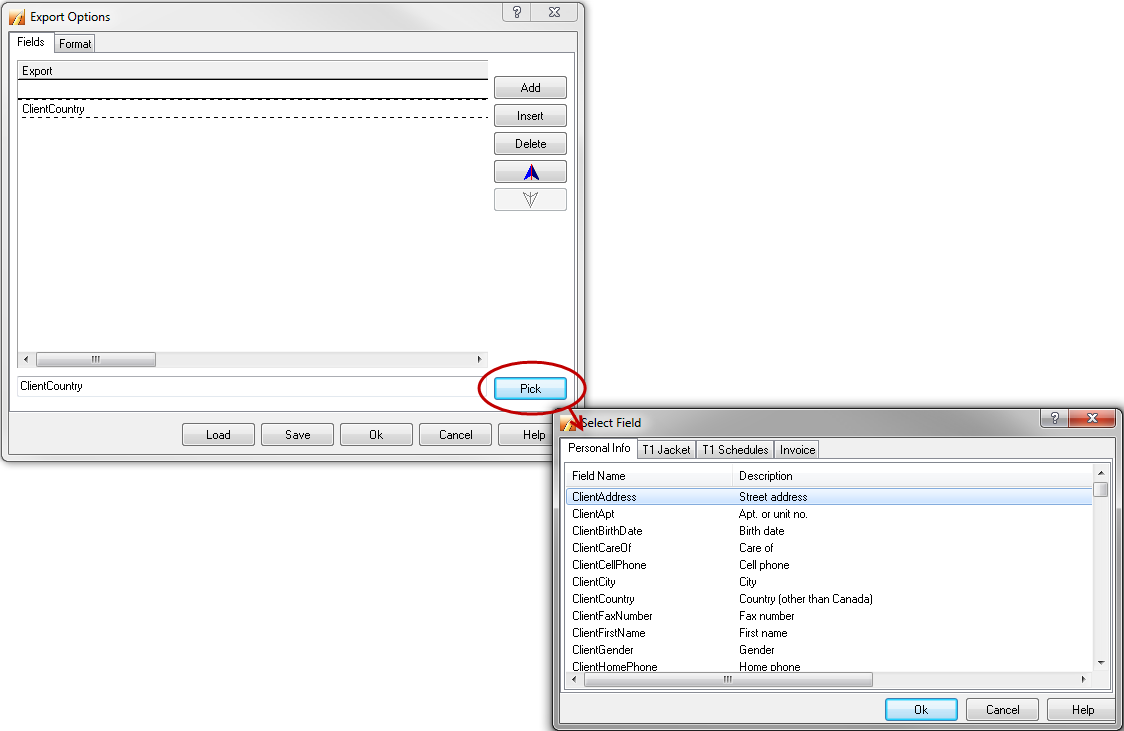
Export field names via the Pick function
The Pick function allows preparers to export field names that have been selected in the Export Options window.
- Select Pick. The list of available fields displays.
- Select the required field name, and then select OK. The selected field name is added to the list of fields to export to the Microsoft Excel file.
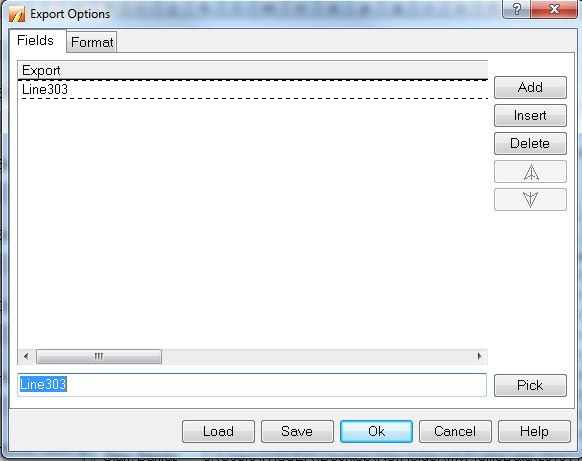
Delete a field from the export list
- Select each field to delete individually in the Export list.
- Select Delete. The field is deleted from the Export list.
Export the selected fields
- Select the Format tab in the Export Options window.
- Select the small file folder icon. The Open window displays.
- Navigate to the location where the file should be created and saved.
- Right-click in the location and select the Text Document option under the New menu.
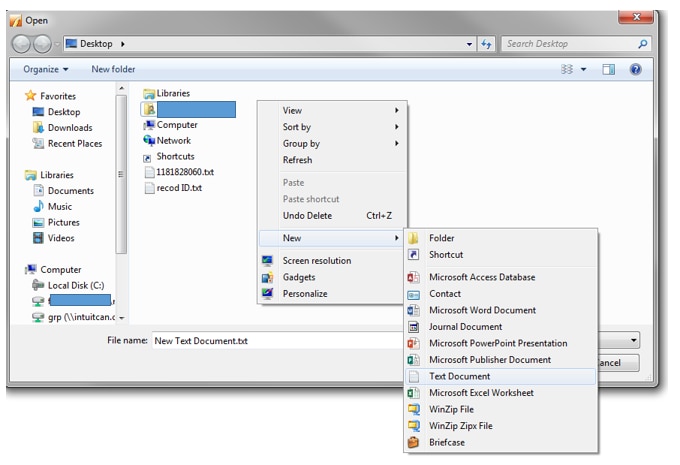
A new text document will be created.
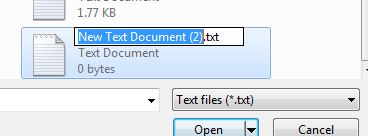
- Rename the new text document as required.
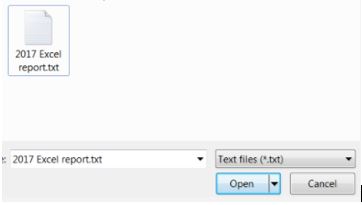
- Select the new text document and then select Open. The Export Options window displays, listing the text document features.
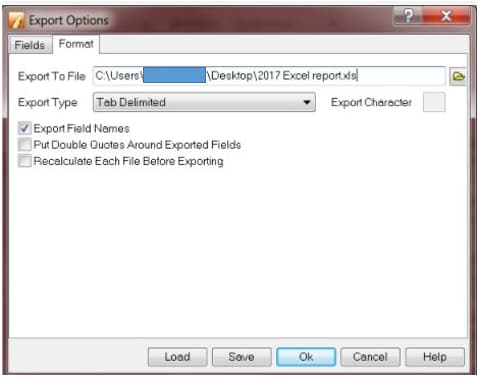
- In the Export to File field, change the file extension to .xls.

Note: It is necessary to have the option to show file extensions turned on to set the file extension to .xls. Review this article to learn how.
- In the Export Type field, select the Tab Delimited option from the dropdown menu

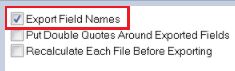
- Select the Export Field Names checkbox.
- Select Save.
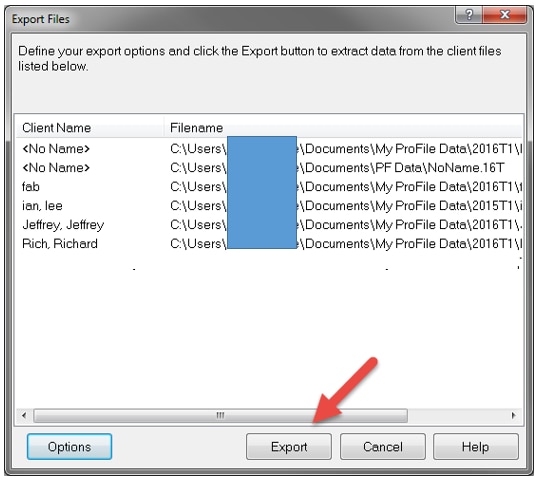
- Select OK, the Export Files window displays.
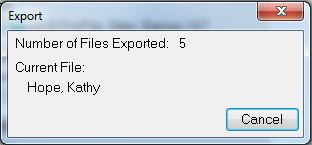
- Select Export, the export process begins.
- Navigate to the location of the exported file and double-click the Excel file.
- Select Yes when prompted by a warning message.

Note: To view your reports as Tab Delimited and Comma Delimited, save the files as .xls or .xlsx. This only applies to Google Suite/Google Sheets.
For Excel, reports can only be exported as Comma Delimited and saved as .xls or .xlsx. You can delete the .txt file.