Print a report using the Classic Database in ProFile
by Intuit• Updated 6 months ago
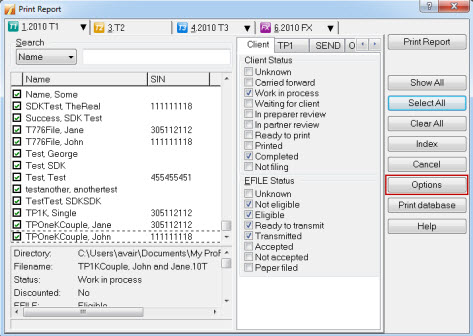
- Select Database menu , and then choose Report.
- Select a ProFile module (T1, T2, T3, or FX) for the type of client files that will be included in the report.
- Apply status filters to the query to narrow the client list. It displays only the files that are to be include in the report.
- Select Options.
Create column headings
The Fields tab allows column headings to be created.
- Select a cell in the top row. Next, select the Properties to add, change, or format the column heading:
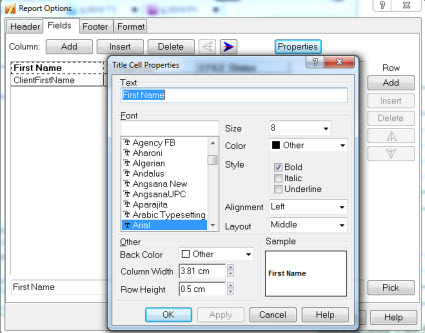
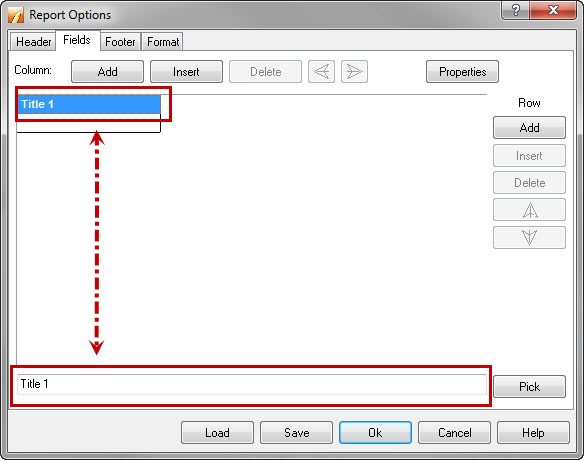
- To change or enter the column headings, select in the text field located in the bottom-left of the Report Options window:
Select data
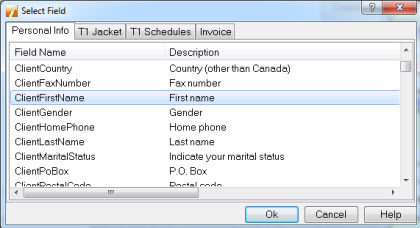
- Select an empty cell below the column heading.
- Select Pick to choose from a list of key field codes. Like the column headings, the format can be set on the field code cells, which format the data in the printed report.
- Select the cell to be formatted, and then select Properties.
Add a row or a column
Note: When there's no blank cell available, new columns or rows can be entered.
- Use the arrow buttons to move the cursor along the rows and columns of the report.
- Select Add to create a row or a column after the last one.
- Select Insert to place a new row or column according to your cursor position.
Select a printer
- Select the Format tab.
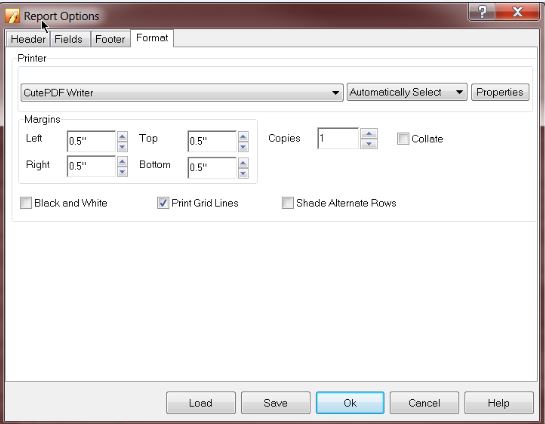
- Select the printer.
Note: ProFile PDF Export will not print this function.
Save and print
- Select Save to save the options before running the report.
- Select OK.
- On the main Database dialogue window, select Print Reports.
More like this
- Export ProFile data into Excel with Classic Databaseby Intuit
- Print multiple jobs from the Client Explorer or Classic Database in ProFileby Intuit
- Batch printing specific forms from Classic Database or Client Explorer in ProFileby Intuit
- Files excluded or incorrectly displayed in Classic Database or Client Explorerby Intuit