Perform a clean uninstall of ProFile
by Intuit•1• Updated 6 months ago
Heads up! Microsoft is ending support for Windows 10 on October 14, 2025. This means no more free technical assistance or security fixes. To keep your system secure and your ProFile experience optimal, we recommend upgrading to Windows 11.
To resolve some errors, it may be necessary to perform a full (or "clean") uninstall of ProFile. Follow the steps below to complete this task:
Table of contents:
| ‣ Step 1: Uninstall programs |
| ‣ Step 2: Remove PDF Export print device |
| ‣ Step 3: Manage the Windows registry |
| ‣ Step 4: Rename files |
| ‣ Step 5: Finish the install |

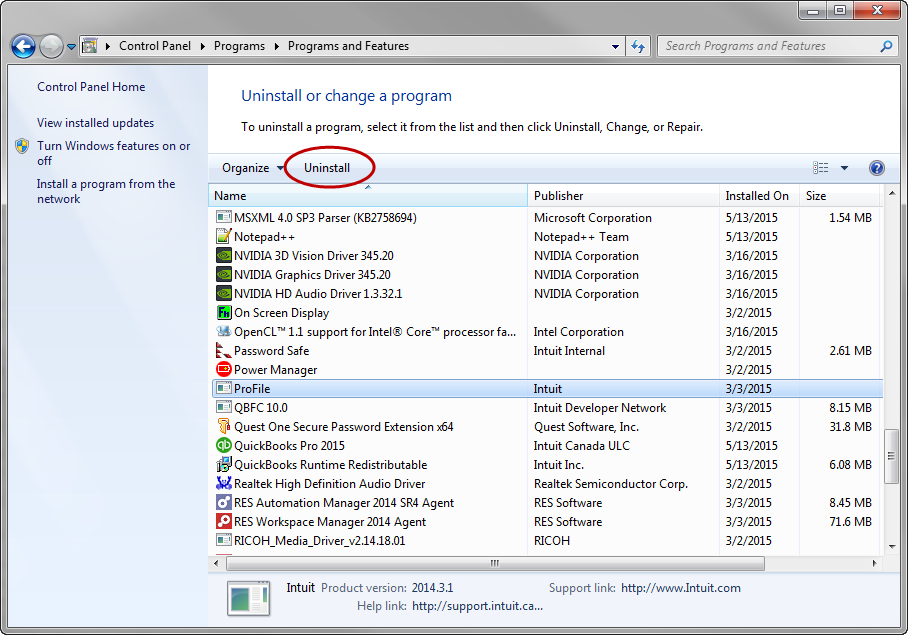
Step 1: Uninstall programs
- Open the Windows Control Panel.
- Enter the term, programs and features in the search bar in the top-right corner. Press Enter and select the top result displayed in green text.
- Identify the following programs:
- ProFile
- QBFC10
- Select each program, and then select Uninstall. The programs uninstall.
Step 2: Remove PDF Export print device
- Open the Windows Control Panel.
- Enter the term devices and printers in the search bar in the top-right corner, and then press Enter. A list of devices and printers displays.
- Right-click on the ProFile PDF Export printer option and select Remove device.
Step 3: Manage the Windows registry
Note: Undertake the following steps carefully when working with the Windows Registry.
- Click the Windows icon in the bottom-left corner of the screen.
- Enter the term regedit in the search field. The regedit.exe file lists in the window.
- Select regedit.exe; the Registry Editor window opens.
- Select Export from the File dropdown menu in the top toolbar.
- Select Desktop from the left-side menu as a destination for the file backup.
- Assign a name of Backup in the File name field.
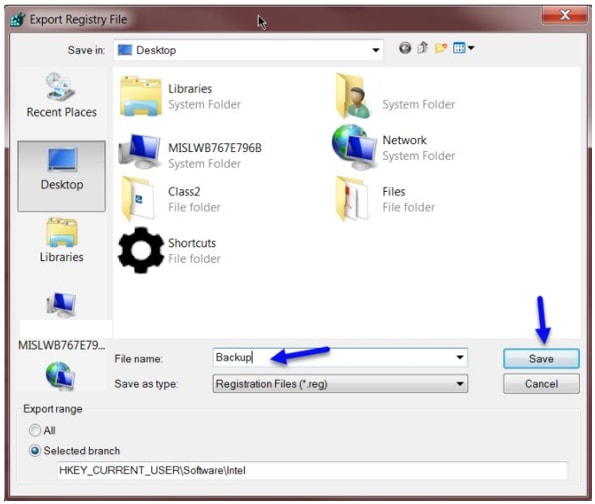
- Select Save. The backup file saves to the desktop.
- Navigate to the location HKEY_CURRENT_USERSoftwareGreenPoint.
Note: If there is no GreenPoint registry, close the Registry Editor window and proceed to Step 4.
- Identify the GreenPoint folder.

- Right-click on the GreenPoint folder and rename it as GreenPoint_old.
- Close the Registry Editor window.
Step 4: Rename files
- Rename each of the following folders to have the suffix -old. This will force ProFile to generate a new replacement folder.
- You will need to enable the Show Hidden Files option. This option is under the View menu on the File Explorer.

- C:\Users\%USERNAME%\AppData\Local\GreenPoint-old
- C:\Users\%USERNAME%\AppData\Roaming\GreenPoint-old
- C:\Users\%USERNAME%\AppData\Roaming\ProFile-old
- C:\Users\%USERNAME%\Documents\ProFile-old
- C:\ProgramData\GreenPoint-old
By default, ProFile data is stored in a folder called C:\Users\%USERNAME%\Documents\My ProFile Data. So unless you moved your files into one of the above folders, this will not affect your data.
- Open the Windows Task Manager.
- Identify the process ProFile AutoUpdate Host (32 bit).
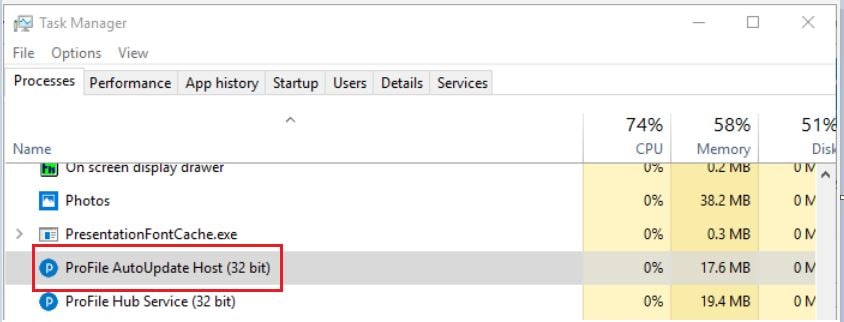
- Select the process, and then select End task. The process will end.
- Rename the following file in the same folder as those renamed above:
C:\ProgramData\Intuit\AutoUpdate-old
Step 5: Finish the install
- Close all windows.
- Restart the computer.
- Rename the following folder:
C:/Program Files (x86)/ProFile to C:/Program Files (x86)/ProFile-old
Note: Don't rename the Program Files (x86) folder.
- Reinstall ProFile. The latest installer file can be found here.