Print a report using the Client Explorer database in ProFile.
by Intuit• Updated 6 months ago
Tip: If you need a list of last year's clients or a list of clients with certain commonalities, you can use the Report feature to print data from ProFile.
Below is information on how print a report using the Client Explorer database in ProFile:
| ‣ Getting started |
| ‣ Managing fields |
| ‣ Selecting data |
| ‣ Adding a row or a column |
| ‣ Assigning a printer |
| ‣ Saving and printing the report |
Getting started
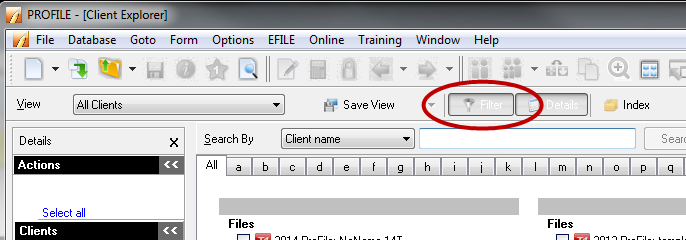
- Select Client Explorer from the Goto dropdown menu.
- Select Filter. The filter pane will display in the Client Explorer.
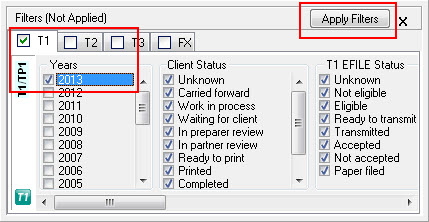
- Select the module tab (for example, T1) and filter the specific year for the query you would like to run.
- Select Apply Filters.
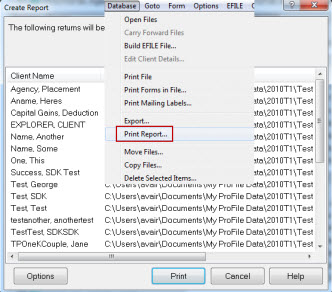
- Select which files to include in the report.
- Select the Print Report option under the Database dropdown.
- Select Options. The Report Options menu will display.
- Proceed to the next section to format the report.
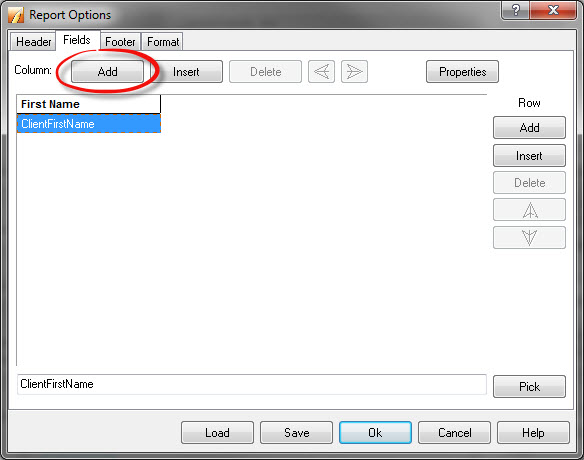
Managing fields
Important: The Fields tab lets column headings to be created.
- Select the Fields tab.
- Select the top cell in the top row.
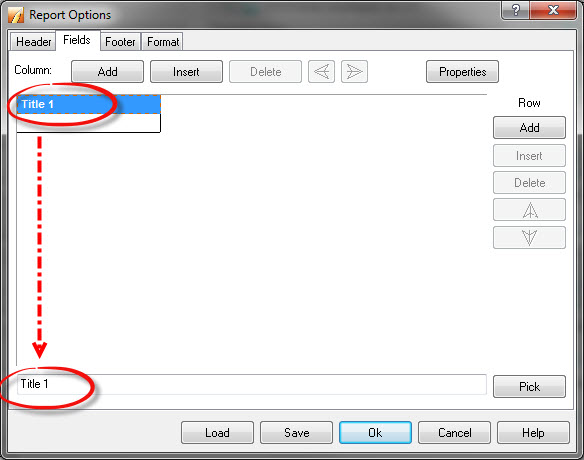
- Select in the text field to change or enter the heading of a column.
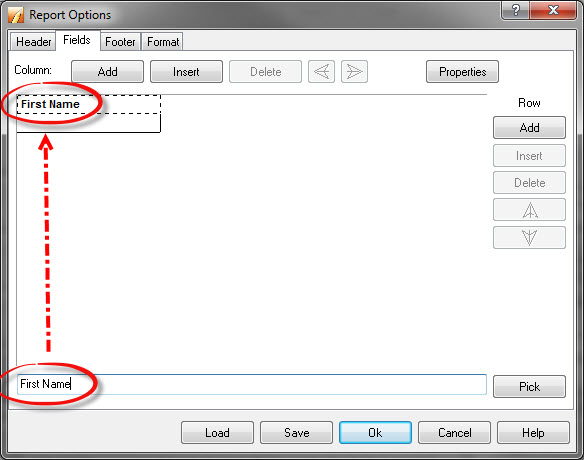
- Select in the bottom text field.
- Select Pick to choose the field to be displayed.
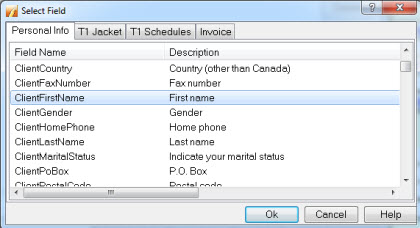
- Select the field.
- Proceed to the next section to select report data to be displayed.
Selecting data
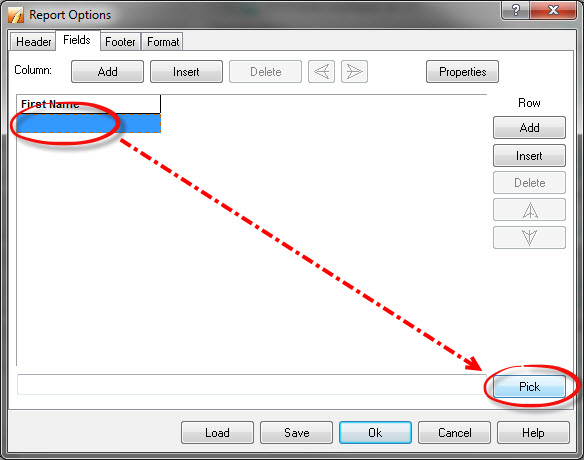
- Select in an empty cell below the column heading.
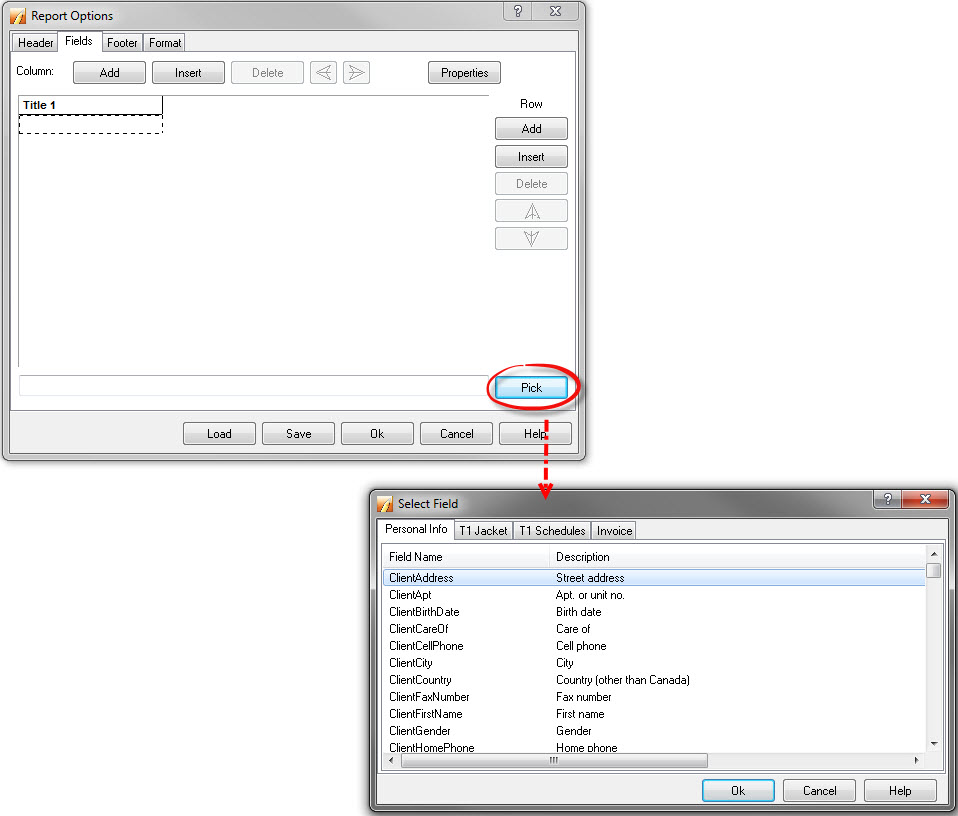
- Select Pick.
- Choose key field codes from the provided list. Like the column headings, the format can be set on the field code cells which formats the data in the printed report.
- Select inside the cell to be formatted.
- Select Properties.
- Proceed to the next section to add additional rows or columns to the report.
Adding a row or a column
When there is no blank cell available, new columns or rows can be entered.
- Select Insert to place a new row or column according to your cursor's position.
- Proceed to the next section to save and print the report.
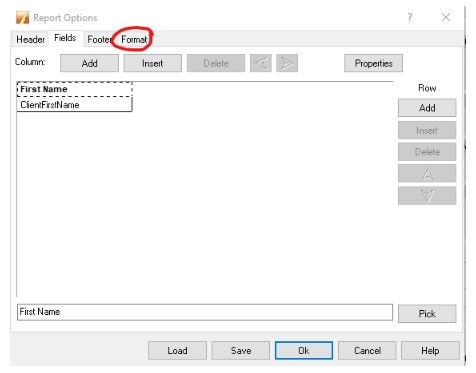
Assigning a printer
- Select the Format tab.
- Under the Printer field, assign a printer for the report to be printed on.
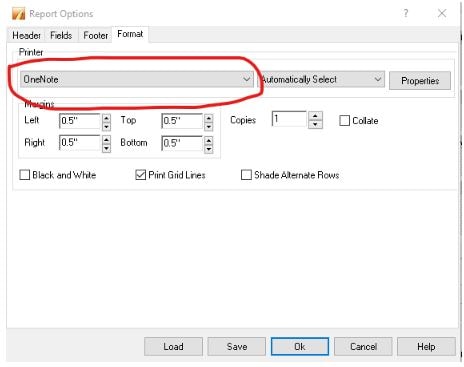
- Select OK.
- Proceed to the next section to save and print the report.
Saving and printing the report
- Select Save to save the options before running the report.
- Select OK.
- Navigate to the main database dialogue window.
- Select Print Reports. The report will print.
More like this
- Files excluded or incorrectly displayed in Classic Database or Client Explorerby Intuit
- Enabling Client Explorer database as a personal server in ProFileby Intuit
- Print multiple jobs from the Client Explorer or Classic Database in ProFileby Intuit
- Batch printing specific forms from Classic Database or Client Explorer in ProFileby Intuit