Get started with Adobe Sign and DocuSign
by Intuit• Updated 1 month ago
Electronic signatures (or eSignatures) are a way to ask clients for signatures and other inputs on forms and documents in ProFile. ProFile users can track which requests have been completed and which are still outstanding in one convenient dashboard after requests have been sent to your customers.
Intuit supports two products that allows you to request signatures and other inputs directly from ProFile without having to track individual emails or files: Adobe Sign and DocuSign. Both are third-party partners of Intuit. Separate fees may apply, and a paid ProFile license is required for both Adobe Sign and DocuSign.
Learn more about setting up and using Adobe Sign and DocuSign:
Table of contents:

More about Adobe Sign
Get started
- Sign in to your Intuit Account by going to Online in the ProFile menu bar and selecting Sign In. If you don't have an account, select Create Account.
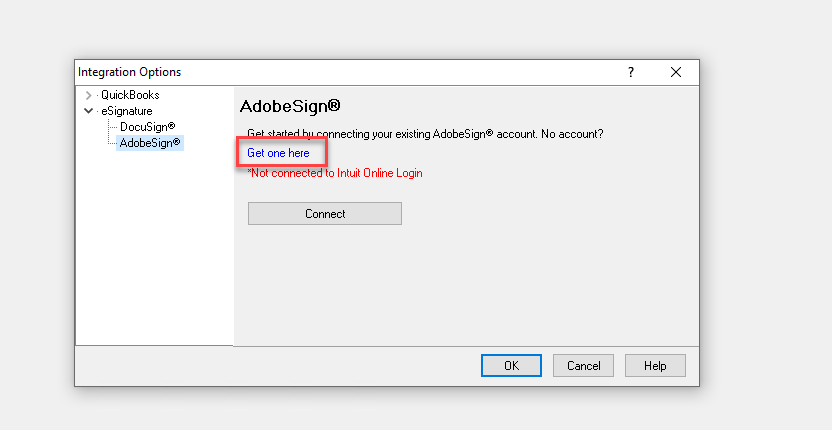
- Go to the Adobe Sign website and set up your account by purchasing a license or starting a trial. You can also set up an account by going to Options > Integration.
- Select the dropdown for eSignature. Next, select Adobe Sign and then the link to get an account.
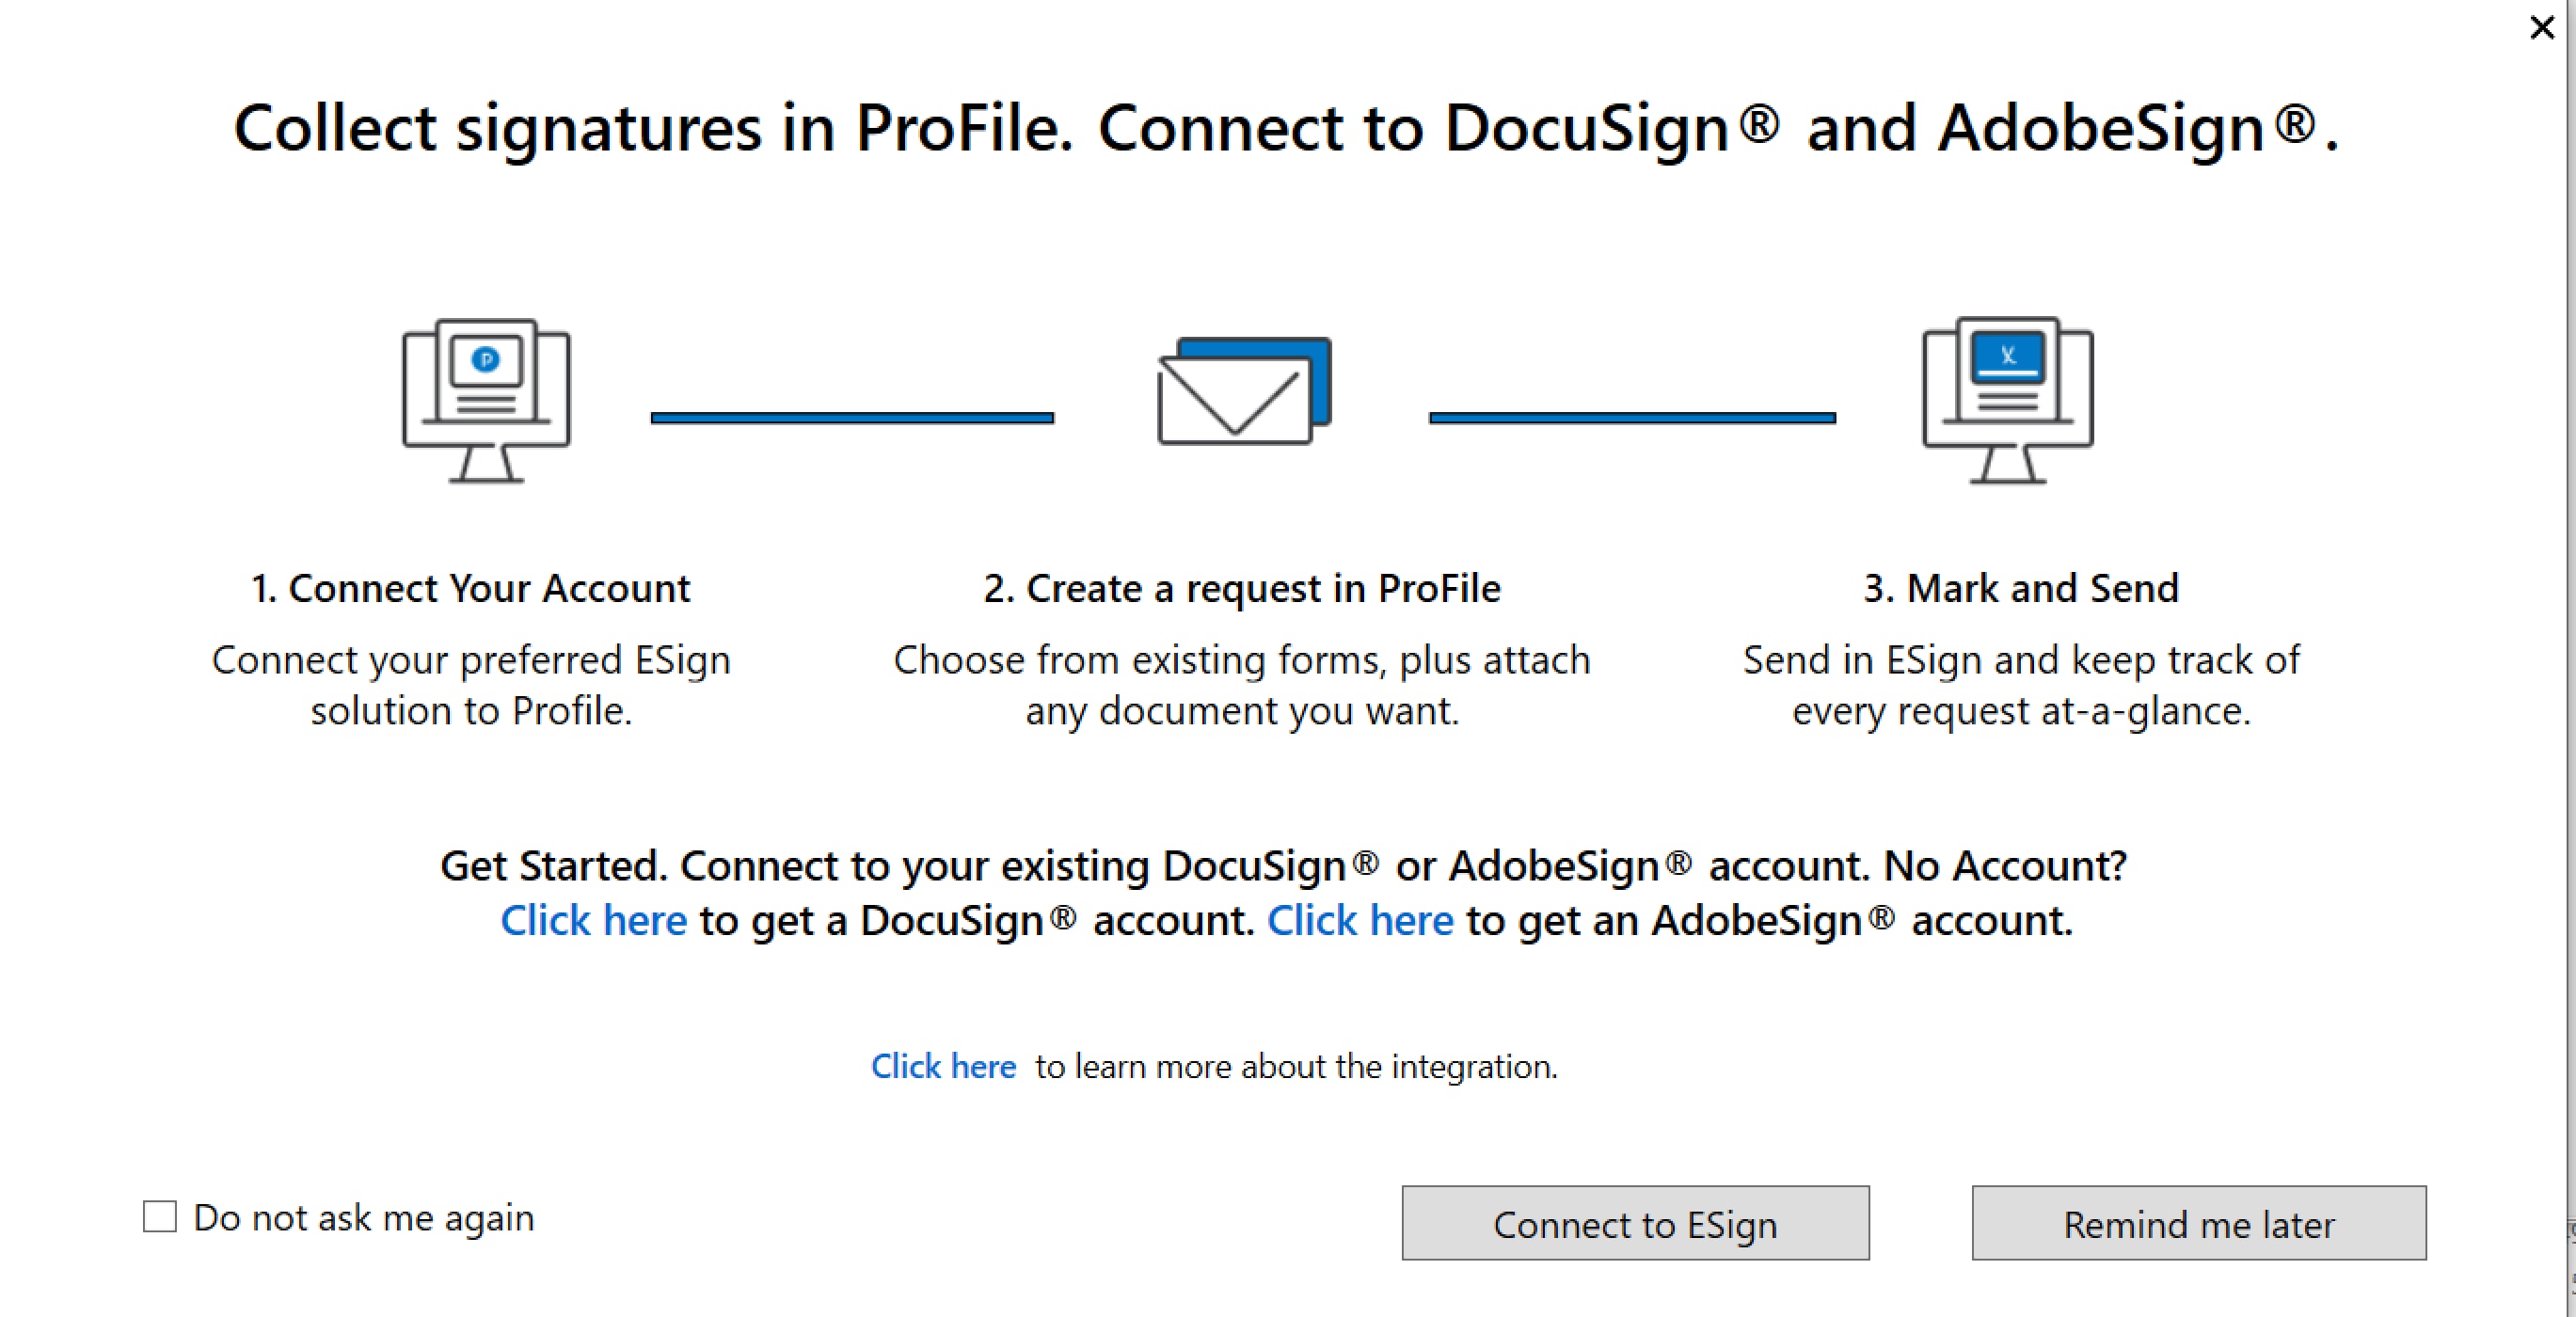
Alternatively, you can sign up for an account when you first open ProFile.

Send invites to collect e-signatures
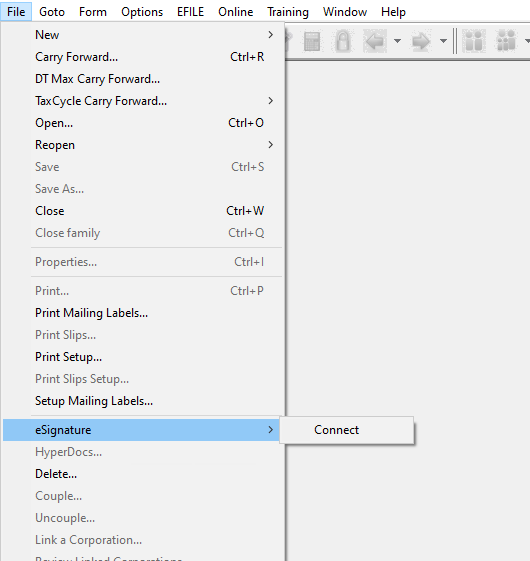
- To start gathering e-signatures with Adobe Sign, go to File > eSignature and select Connect.
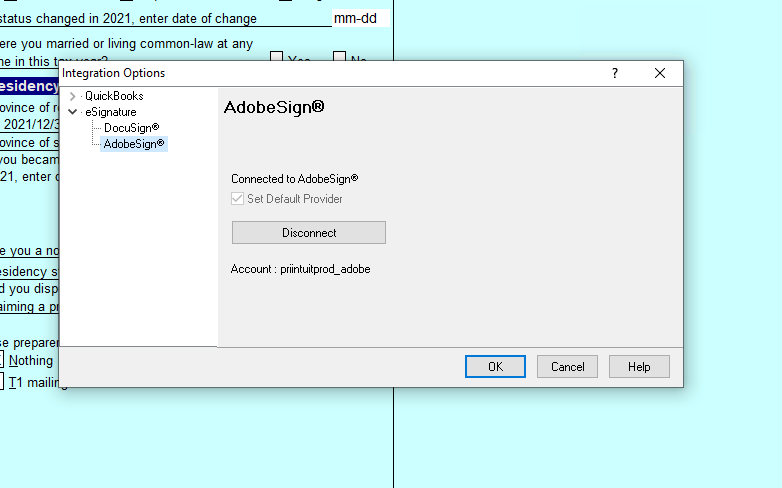
- The Integration Options open. Select Adobe Sign under eSignature, and then select Connect. If your Adobe Sign account ID matches your Intuit ID, you'll get a message advising you're connected.
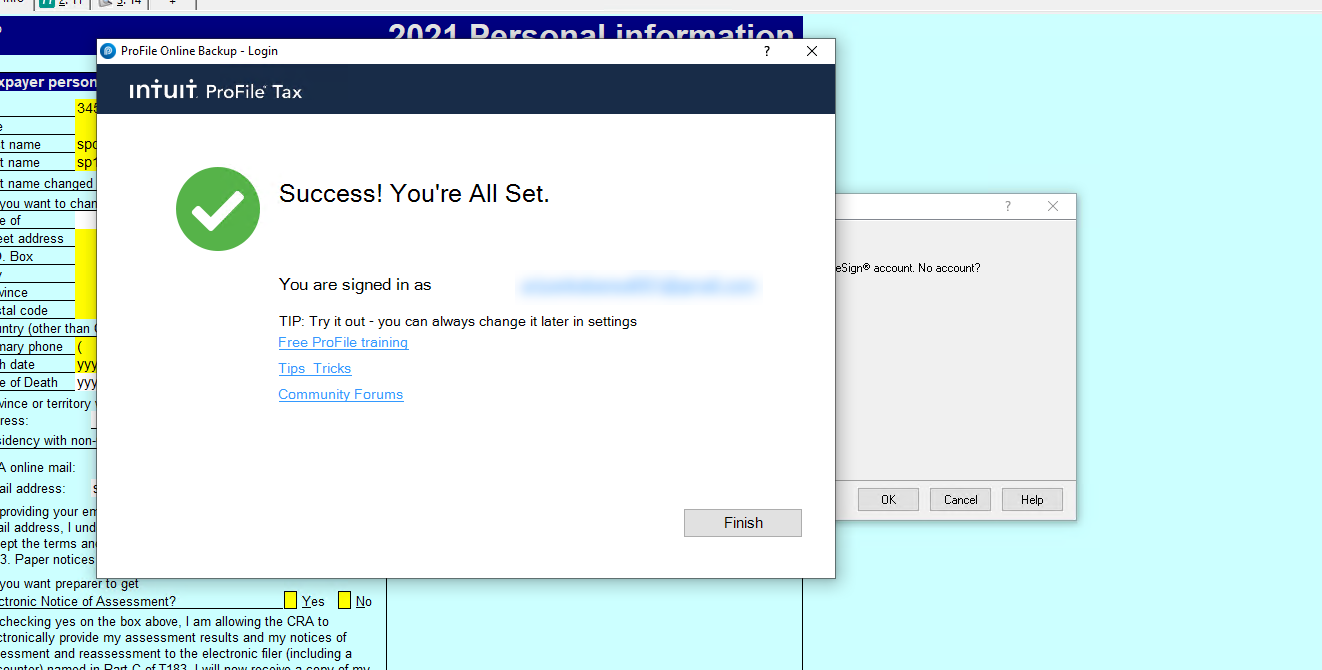
If you have a different email address for your Adobe Sign account, you'll be taken to an Adobe page to enter your credentials. You'll then be notified that sign-in was successful and instructed to return to ProFile.
- Select OK. There's also an optional checkbox to set Adobe Sign as your default provider. When a default provider is set, subsequent actions related to eSignature will be based on that provider.
- Open the file of the client you want signatures from, and then go to File > eSignature > Collect Signature. The Send documents to AdobeSign window opens.
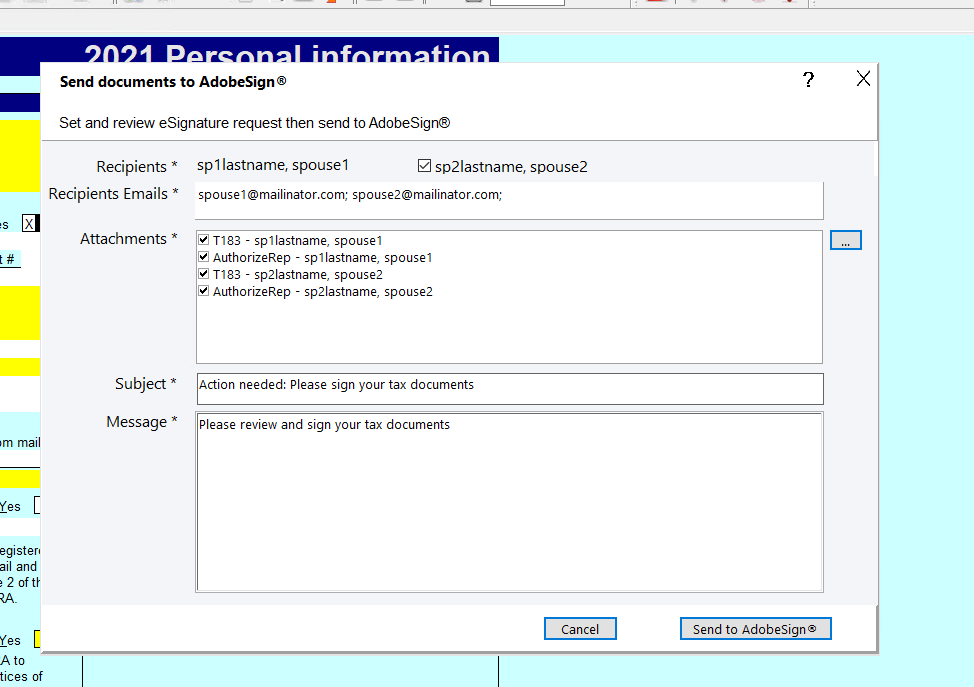
You can add a spouse for a joint return. The email address will pull from the Email address field on the Info page, but you can update it along with the Subject and Message fields. Use the ellipsis on the right to pick other PDFs besides the default T183 and Authorize a Representative forms.
Note: Adobe Sign won't let you send documents to your own address. The sender and recipient's email address must be different.
- Select Send to AdobeSign.
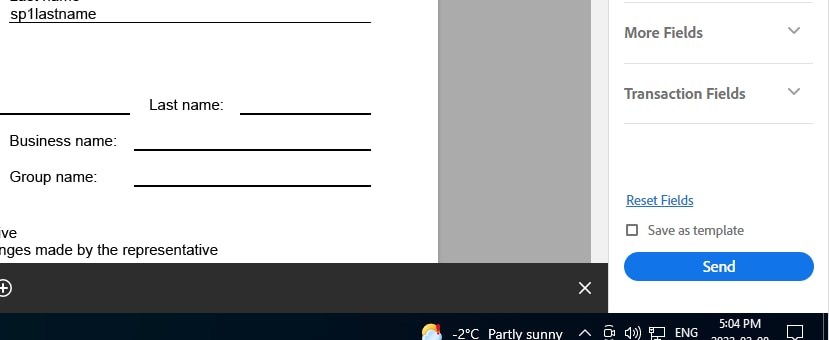
- In Adobe Sign, you can place where the client's signatures are needed. Select Signature and drag it to the required field.
- If signatures are added, you can select Send.

Receive signatures
- Your client will receive an email asking them to review the documents and sign them.
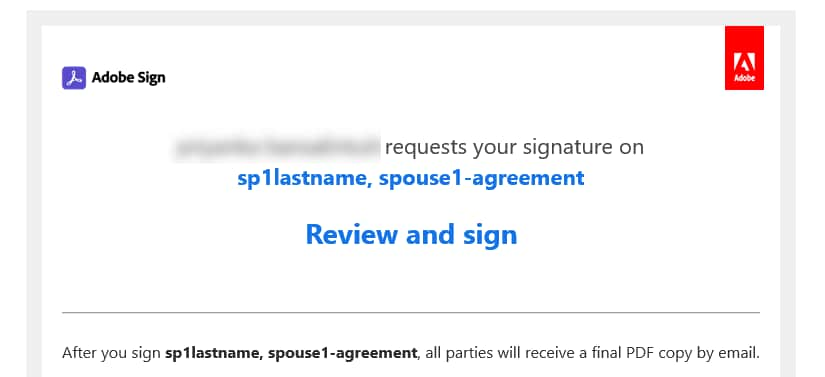
- When they choose Review and sign, the document will appear. They can select the signature marker and type, draw, or upload an image of their signature. Once they select Apply, the marker is replaced with their signature.
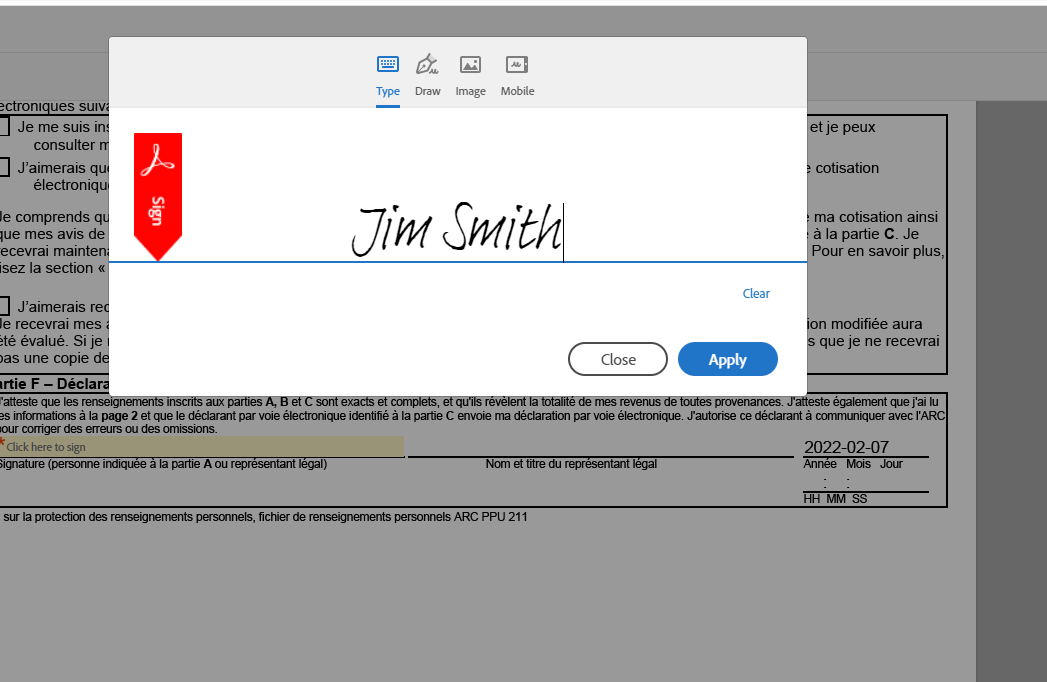
- Your client can select Click to Sign when they're ready to submit.

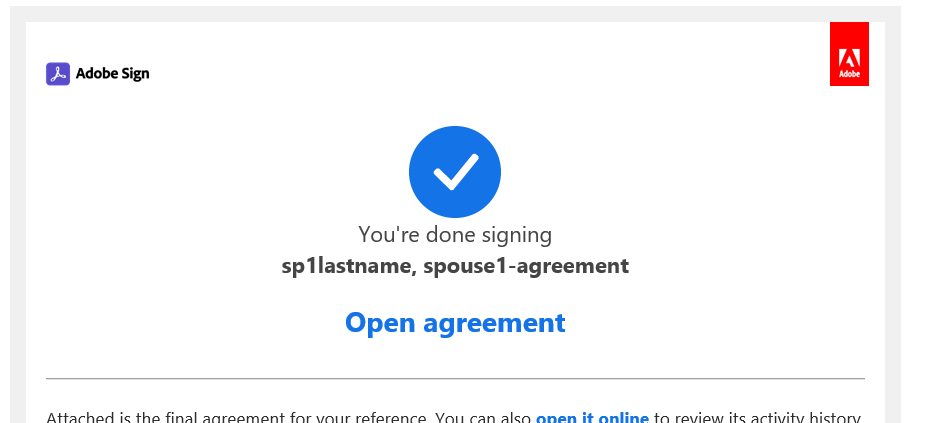
- Upon submission, your client will receive an email and a copy of the signed document.

View the dashboard
The Adobe Sign dashboard is accessed by going to File > eSignature > Dashboard. Within the dashboard, items with a status of Completed are ready to be downloaded.
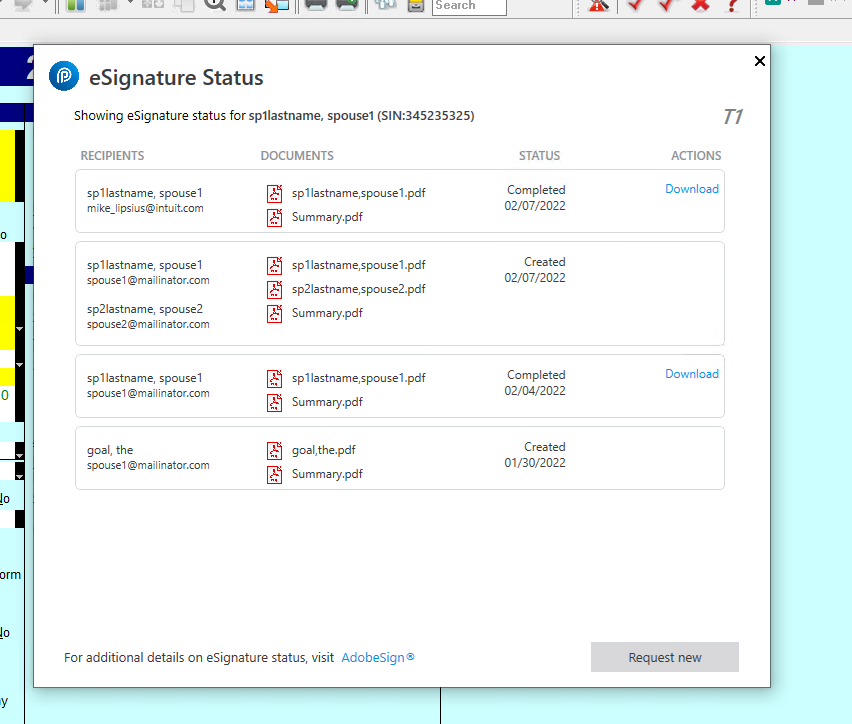
The status window indicates the following for all eSignature requests:
- Recipients: Displays designated recipients for requests.
- Documents: Displays individual forms and documents included in a request.
- Status: There are four statuses in the dashboard process:
- Created: The request has been created but not yet sent.
- Sent: The request has been sent but not signed as requested.
- Complete: The request was sent and completed as requested.
- Partially complete: One or more recipient has requested actions still incomplete.
- Actions: There are two actions available:
- Download: All files in the request download to a .zip folder.
- Send reminder: Another reminder is sent to the designated recipient.
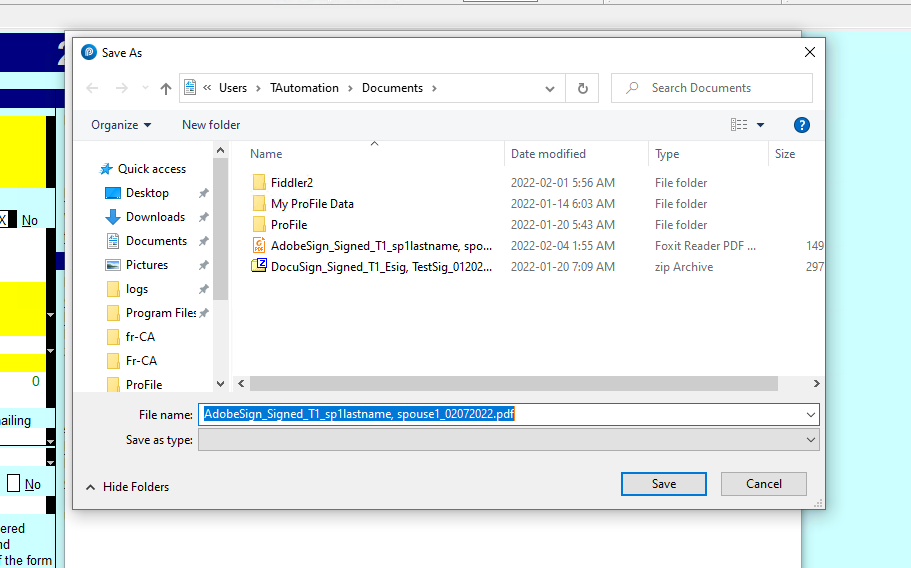
After selecting Download, you will be prompted to save your customer's signed documents.

Disconnect from Adobe Sign
- Select Integration… from the Options dropdown menu. The Integration Options window will display.
- Select Adobe Sign.
- Select Disconnect.
ProFile will disconnect from the Adobe Sign service.

More about DocuSign
Get started with DocuSign
- Select here or select Get one here from the prompt window when ProFile starts.

You will be directed to the DocuSign account sign-up window.
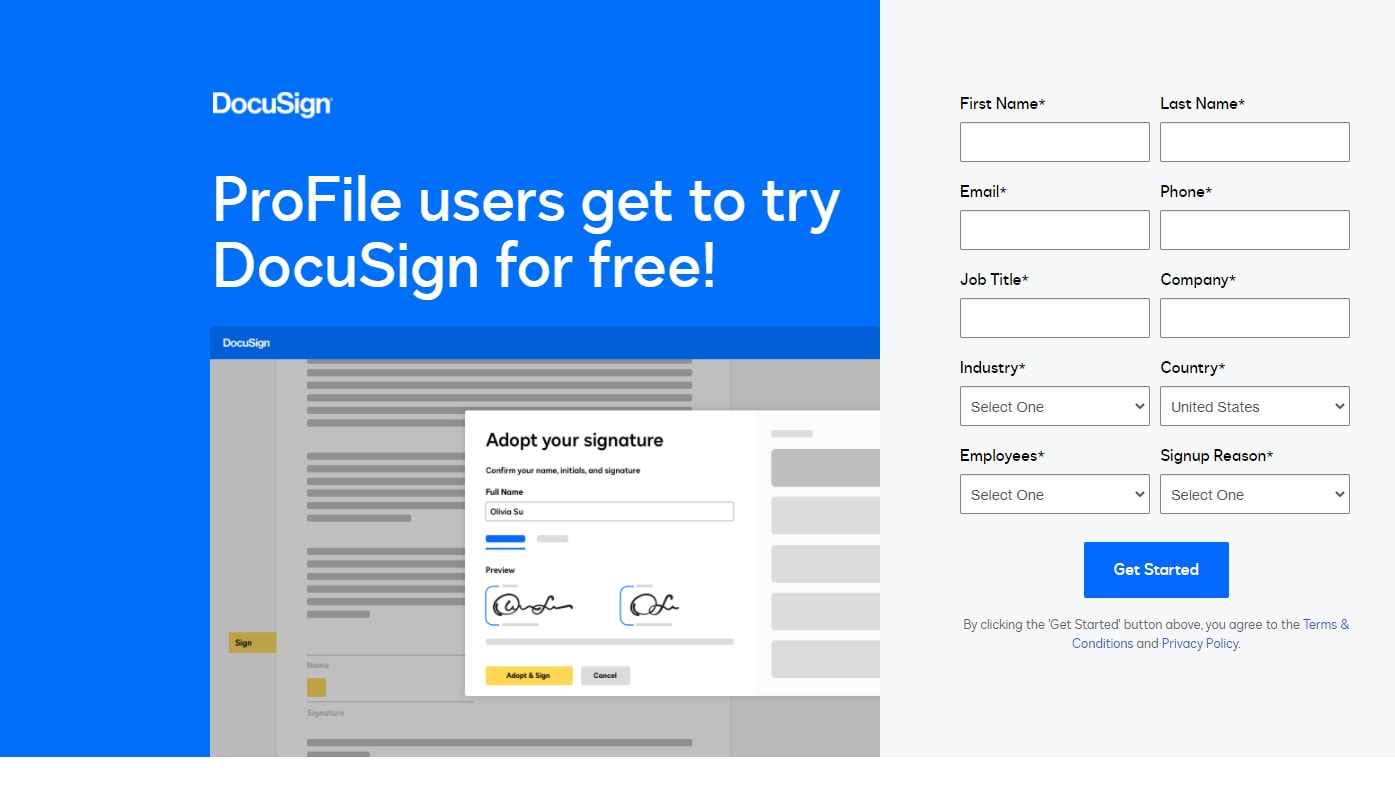
- Enter your personal and business information to create your DocuSign account.
Note: Due to system restrictions, the First Name and Last Name fields can't include special characters or language accents.

Set up your DocuSign account
- Open the DocuSign website.
- Sign in to your DocuSign account.
- Select Settings.

- Select Signing Settings.
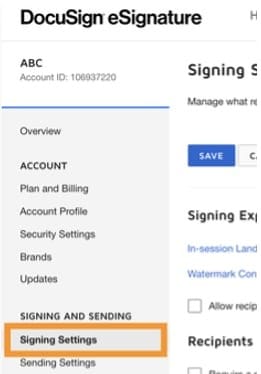
- Update the Current Date Format field in the Document Formatting section to reflect the YYYY-MM-DD format.
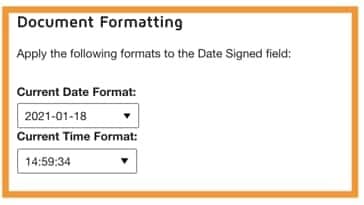
- Update the Current Time Format to reflect HH:MM:SS.
- Save the settings and close the browser tab.

Connect DocuSign to ProFile
Tip: You can review a video of this process here.
- Open ProFile.
- Select Options, and then Integration…
- In the Integration Options window, select DocuSign and then select Connect.
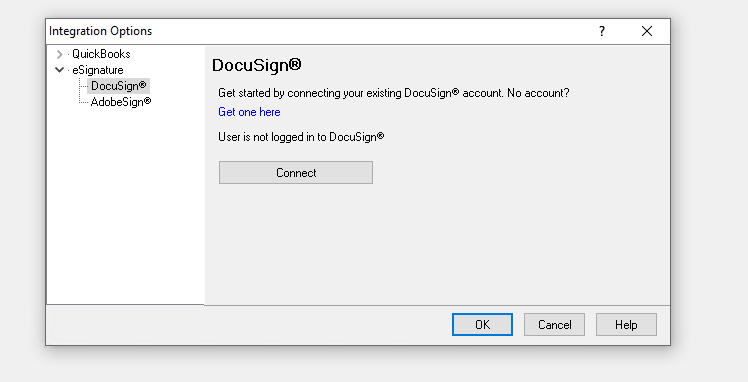
- Sign in to ProFile with your Intuit account login and password. If you don't have one, you can use the Create an account option to create one.
ProFile will connect to DocuSign. You will be prompted to sign in if this is the first time you are connecting ProFile to DocuSign.
- Sign in to your DocuSign account.
- Select Accept when prompted to allow ProFile to connect to the DocuSign service. It's only necessary to accept this connection once.
A successfully connected message will display.
- Close the browser tab.
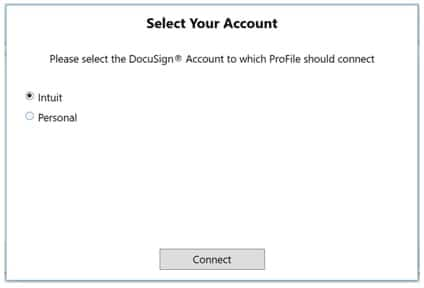
In the event an email address is associated with multiple DocuSign accounts, you'll be prompted to select the DocuSign account that the ProFile license should connect to.
- Select the appropriate account, if prompted.
Your connection status updates in the Integration Options window.
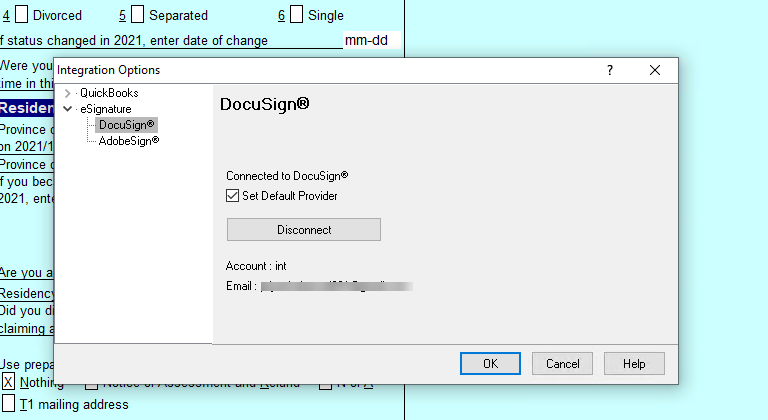
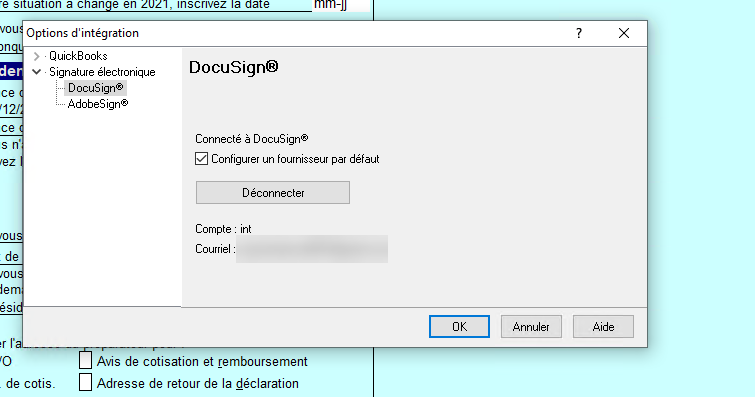
You can set DocuSign as the default provider in this window. Close the Integration Options window. The connection remains active. You can now begin sending documents to clients for electronic signatures.

Send documents for eSignatures
Tip: You can review a video of this process here.
If you are using eSignature for coupled returns, you can review a video of this process here.
- In ProFile, open the file or form that requires a signature or client input.
- Select File > eSignature, and then Collect eSignature.
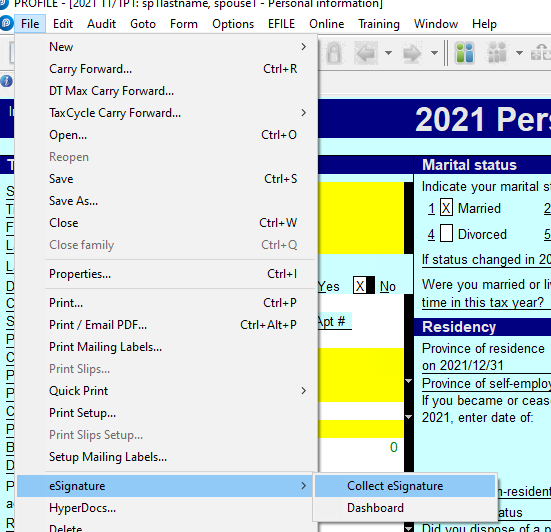
The Send documents to DocuSign screen will display.
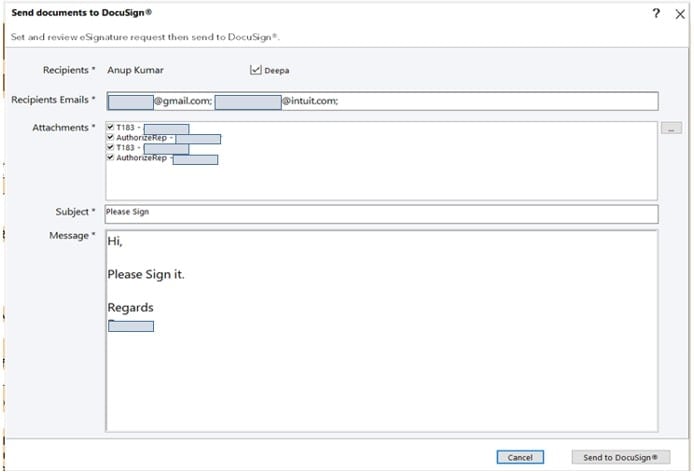
- Enter a recipient in the Recipients Emails field.
Note: For T1 returns, the Recipients Emails field automatically populates based on information in the return, and a spousal return displays both spouses in the Recipients Emails field. You can select both spouses as recipients, but each spouse will only be able to contribute signatures or information as designated by the sender.
When sending the documents to multiple recipients, each of them will have visibility of the sent documents but will only be able to sign the documents designated to them by the sender.
- Select the file that requires client signatures or other inputs (for example, T183 or Authorize a Rep).
If you need to send a form to a client that is not provided on the default forms list (for example, an Engagement letter) you can add it as a PDF to DocuSign and send it to clients. Note that only a single PDF may be sent to clients at a time.
- If you need to send a form to a client that is not provided on the default forms list (for example, an Engagement letter) you can add it as a PDF to DocuSign and send it to clients. Note that only a single PDF may be sent to clients at a time. Follow the steps below, or skip to step 6.
- Open the Engagement letter or other needed form in ProFile and print it as a PDF.
- Select the ellipsis option in DocuSign, and then browse to where you saved the Engagement letter PDF, or any other PDF you need signed. Double-click the PDF and it opens in DocuSign.
- Apply any elements that are required for client input (for example, a signature).
- Send the signature request attached to the letter or form to your client.
Note: Only PDF format files can be attached. Password-protected PDFs aren't supported.
- Enter an email subject in the Subject field.
- nter a description or request in the Email Body field.
- Select Send to DocuSign. The DocuSign elements panel opens.
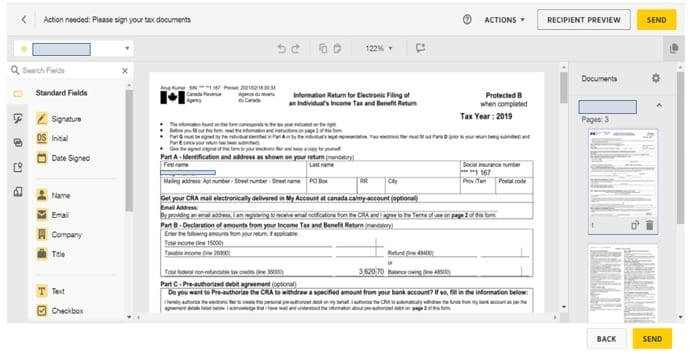
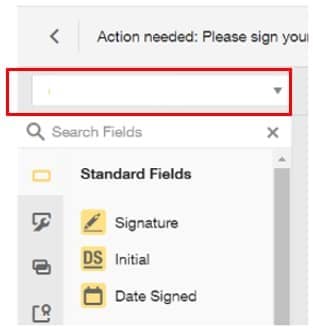
- Select the recipient from the dropdown menu.
- Select the file that requires a signature or input it from the list on the right-side panel.
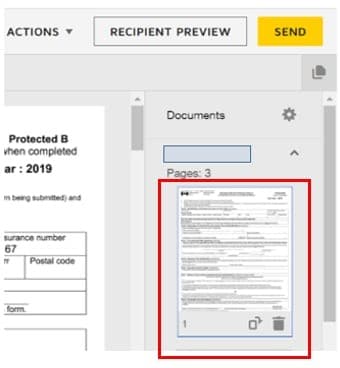
The selected file will displays in the centre panel.
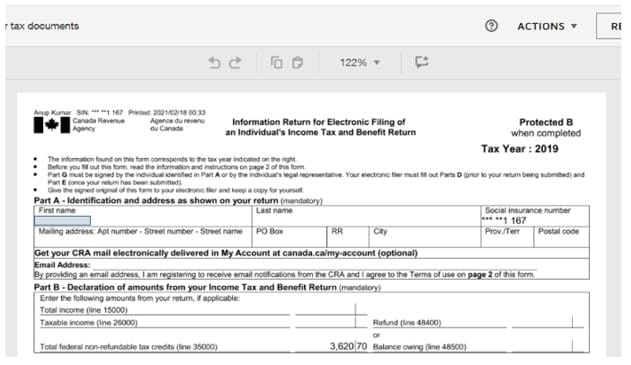
- Select SEND.
The document(s) are sent to the recipient's email with the elements included.

Recipient actions after signature request
- The request recipient must open the email, and then select the REVIEW DOCUMENTS.
- The DocuSign signature panel opens for the recipient. The displayed form includes all the requests for input.
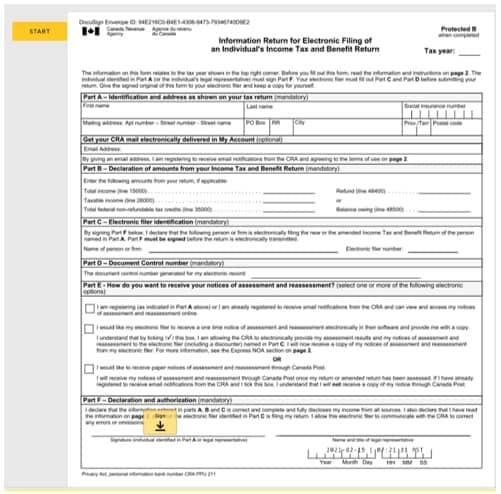
- The email recipient enters the required information and inputs.
Note: Each email recipient will only see requests and input elements for themselves, not for any other recipients.
- The email recipient will then need to select FINISH.


Review the dashboard
- Select File > eSignature, and then Dashboard. The eSignature Status window will display.
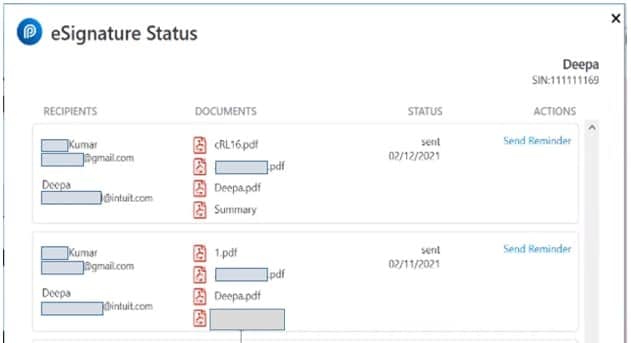
The status window indicates the following for all eSignature requests:
- Recipients: Displays designated recipients for requests.
- Documents: Displays individual forms and documents included in a request.
- Status: There are four statuses in the dashboard process:
- Created: The request has been created but not yet sent.
- Sent: The request has been sent but not signed as requested.
- Complete: The request was sent and completed as requested.
- Partially complete: One or more recipient has requested actions still incomplete.
- Actions: There are two actions available:
- Download: All files in the request download to a .zip folder.
- Send reminder: Another reminder is sent to the designated recipient.
- Select the DocuSign link, if required.

- Select Request new to start a new eSignature request, if required. You'll need to open a client file to be able to request a signature or view the dashboard.
Note:
- If you open a T1/TP1 client, the dashboard only displays the status of the requests sent to that client.
- If you open a T2/CO17 the dashboard only displays the status of the business for which the file is open.
- If you open a T3 or FX client, the dashboard doesn't apply any filters and displays the status of all requests across all years.

Disconnect from DocuSign
- Select Integration… from the Options dropdown menu. The Integration Options window will display.
- Select DocuSign.
- Select Disconnect.
ProFile disconnects from the DocuSign service.

Frequently Asked Questions
Which modules are supported?
Collect digital signatures on any forms in the T1, T2, T3, or FX modules with the eSignature feature.
Which years are supported?
You can use the DocuSign eSignature feature for all years supported in ProFile provided you have a valid tax year 2020 or later year license. You can use the Adobe Sign eSignature feature for all years supported in ProFile provided you have a valid tax year 2021 or later year license.
Which file formats are supported?
DocuSign supports only PDF format files at this time.
Do DocuSign and Adobe Sign work for trial and OnePay licenses?
No, the eSignature feature is not available for trial and OnePay licenses.
Can I attach multiple documents to a single request for client inputs?
Yes, you can attach as many documents and forms to a single request provided the total size of all documents doesn't exceed 25 mb.
Can there by more than one recipient on a single request for client inputs?
Multiple recipients are only supported on the T1 or T1/TP1 modules. For T2, T3 and FX (and their Quebec equivalents) you can only have one recipient.
How do I change the email template?
You currently only have the option to configure one email template. You will see a default email template is loaded the first time you want to send the eSignature request to your client. Both the email subject and body are editable and you can customize it per your needs and save it for all subsequent usages. Once you customize the email subject and body fields, send out the eSignature request and it'll override your last saved template.
How often does the request dashboard refresh?
The dashboard is refreshed every time you open the dashboard. If the dashboard is open, it won't refresh.
Do I have to log in to DocuSign every time I launch ProFile?
No, the connection is maintained as long as you are actively using your connection (at least once within a 30-day period) to send documents for eSignature or track the status of your prior requests.
Can I collect eSignature on password protected files?
No, DocuSign and Adobe Sign currently don't support eSignatures on password protected files.
What is the purpose of selecting a default provider?
When you select a default provider, all subsequent actions relating to eSignature will go through the default provider. For instance, eSignatures will automatically collect through the default provider and the dashboard will automatically appear with items completed or pending from the default provider.
Is it possible to switch between DocuSign and Adobe Sign?
Yes, you must first deselect the program currently used as default provider, and then select the other program as default provider. A default provider always needs to be selected.
If I get an error when I try to send to my client, what could be the issue?
- Make sure the file isn't password protected. Password-protected files aren't supported in DocuSign or Adobe Sign.
- Make sure your document is less than 6 mb.
- If using Adobe sign, the sender's email address must be different from the recipient's. DocuSign doesn't have a similar restriction.
